Forward emails with Resend Inbound
Inbound enables you to receive emails with Resend.
This guide demonstrates how to forward received emails using NextJS, although you can use any framework you prefer.
Verify a domain with Inbound
Verify a domain and enable receiving emails for that domain. We strongly recommend verifying a subdomain (
subdomain.example.com) instead of the root domain (example.com).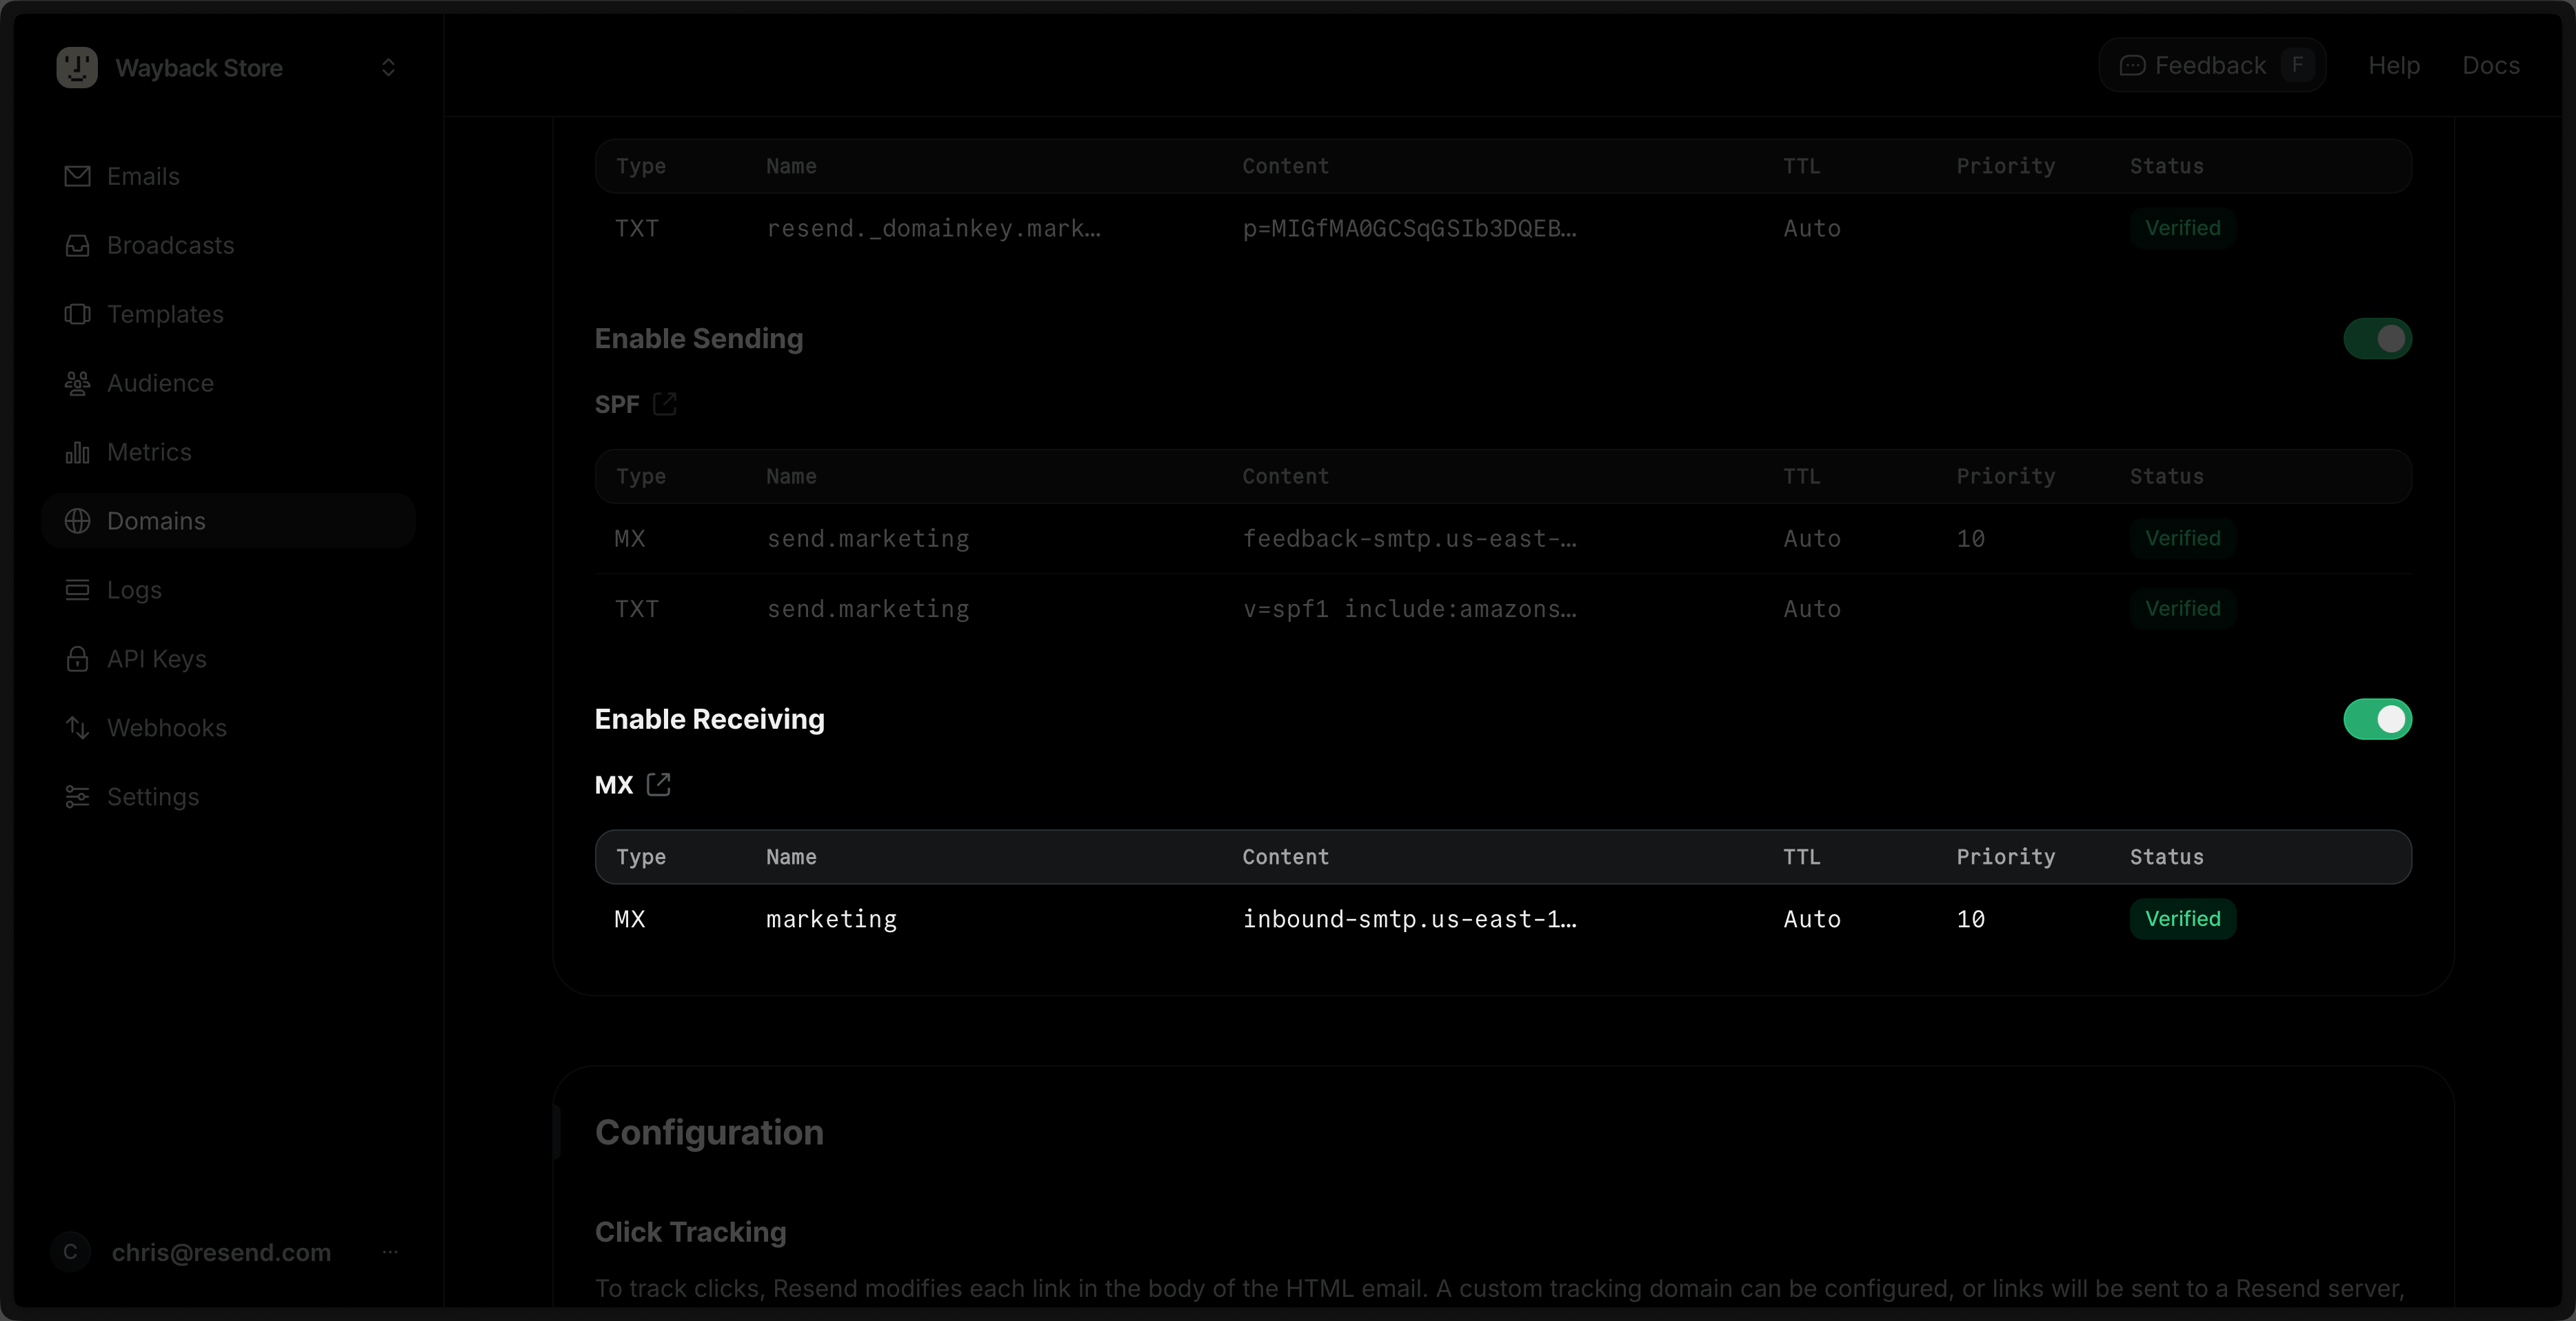
Add the records in your DNS provider and wait for verification to finish in Resend. Learn more about adding Domains in Resend.
Create a POST route
Resend can send a webhook to your application's endpoint every time you receive an email.
Add a new POST route to your application's endpoint.
app/api/inbound-webhook/route.ts import type { NextRequest } from 'next/server'; import { NextResponse } from 'next/server'; export const POST = async (request: NextRequest) => { try { const payload = await request.text(); return NextResponse.json(payload); } catch (error) { console.error(error); return new NextResponse(`Error: ${error}`, { status: 500 }); } };Create a webhook in Resend
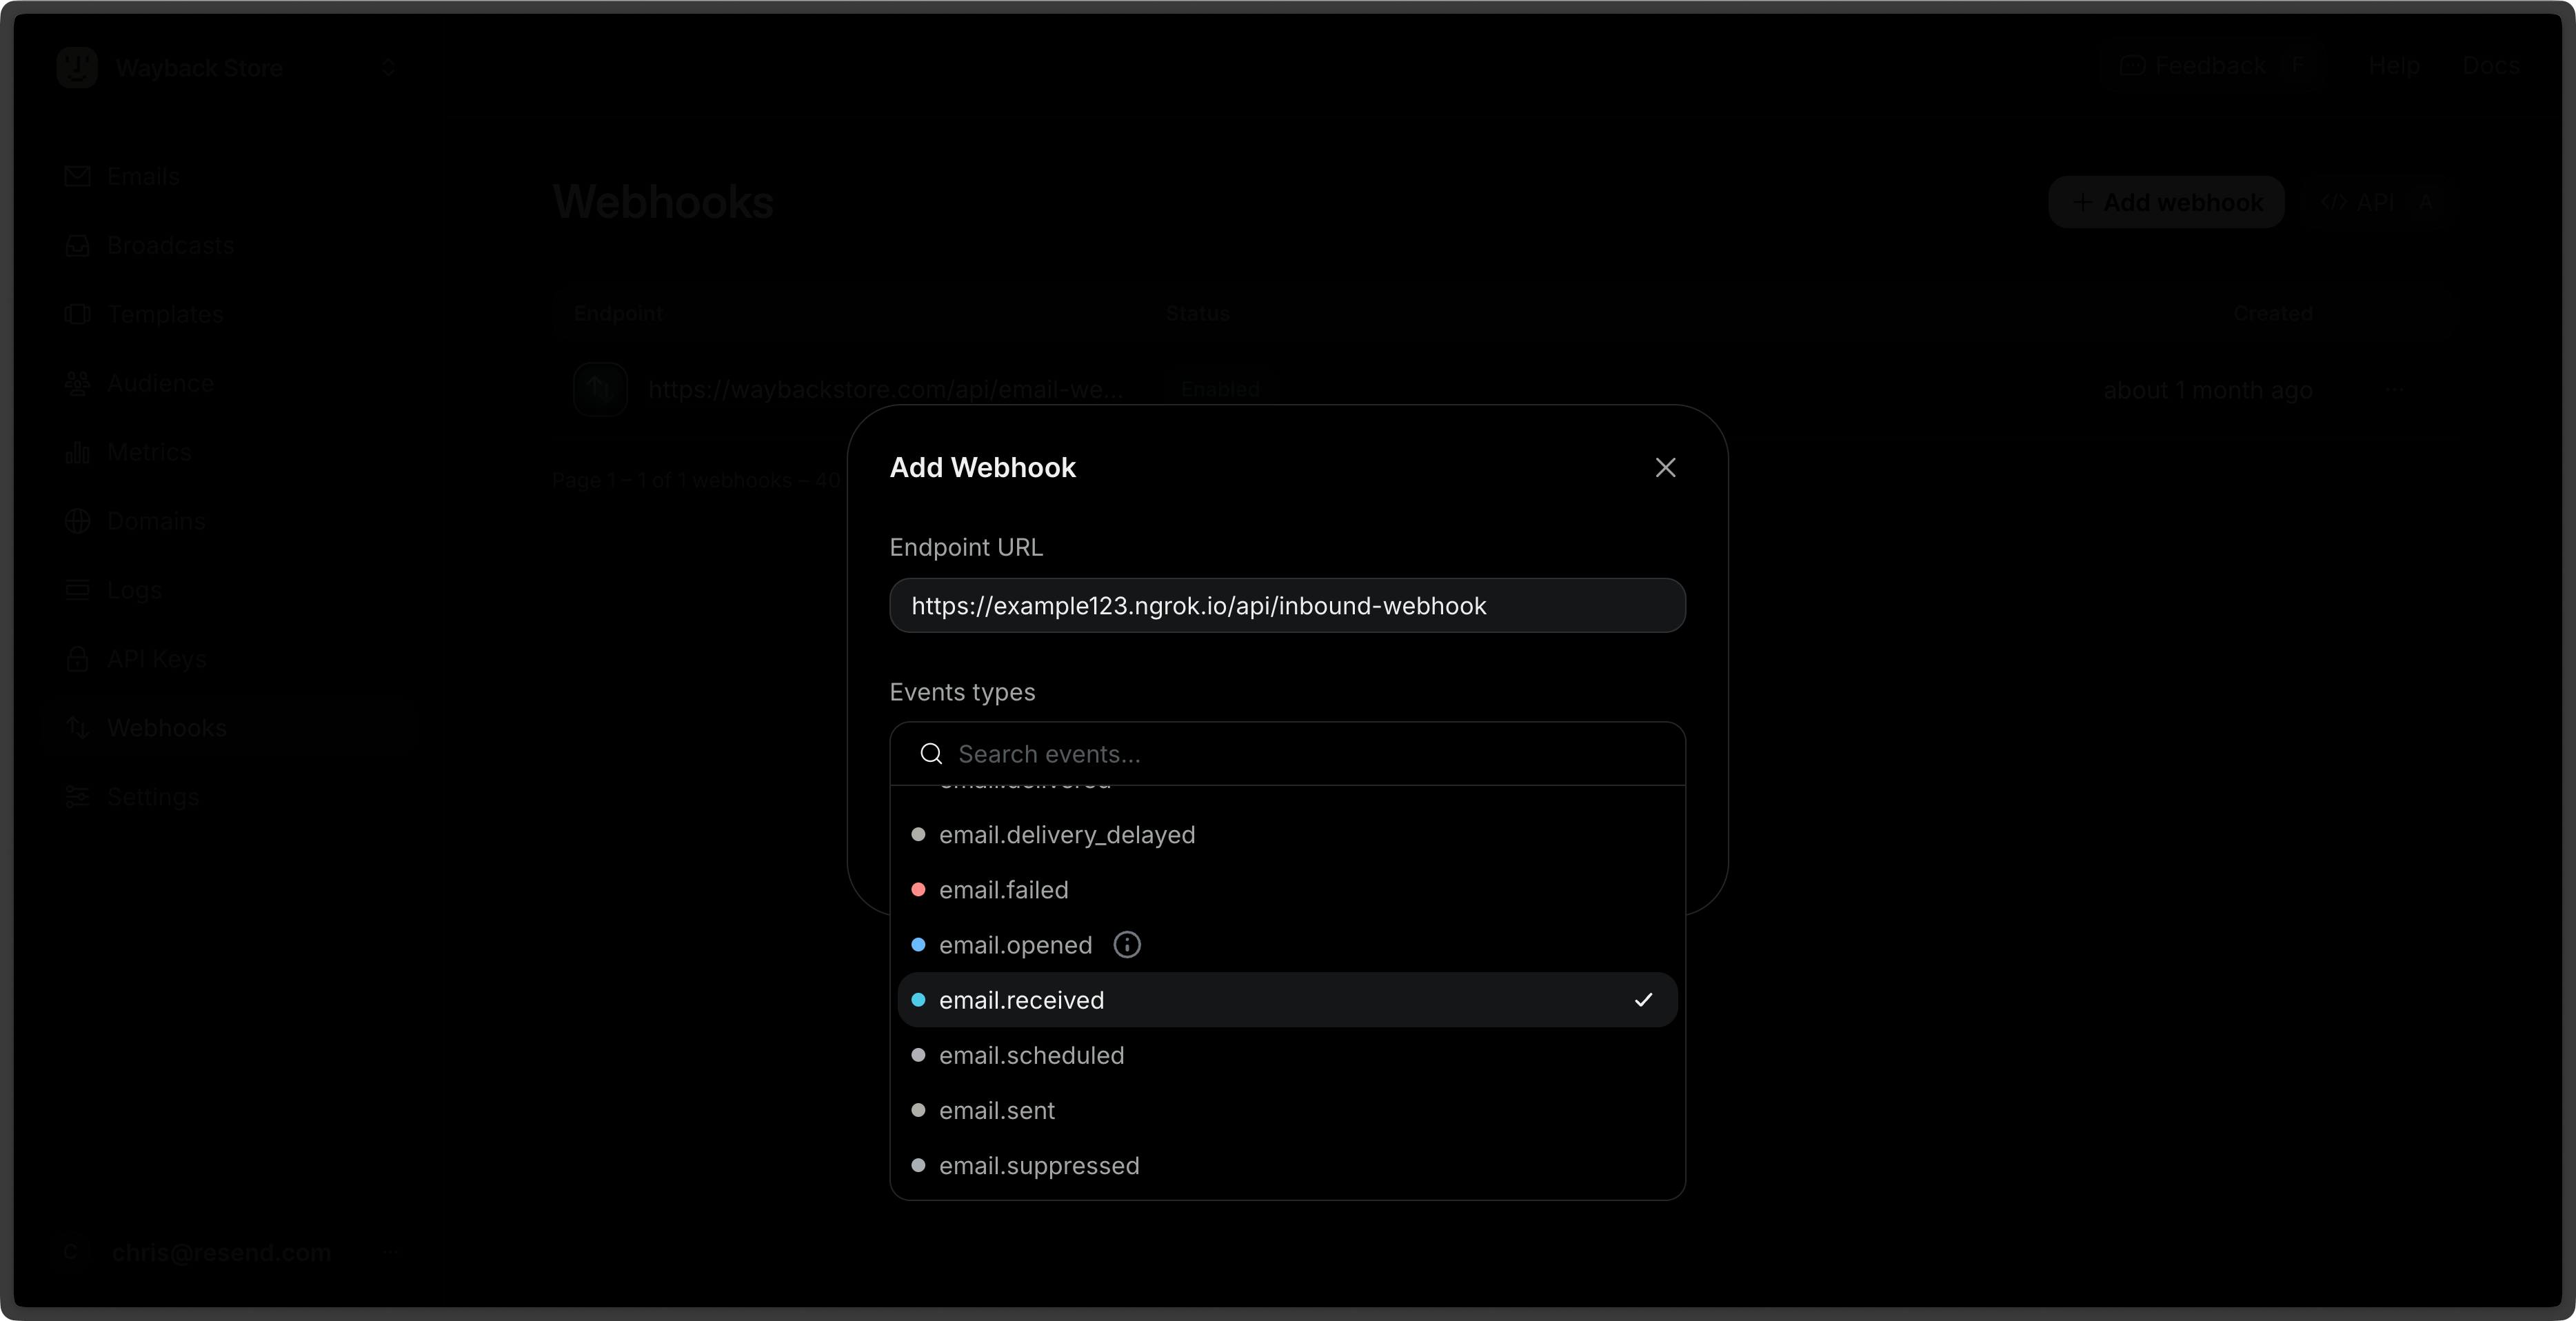
Go to the Webhooks page and click Add Webhook.
- Add your publicly accessible HTTPS URL.
- Select all events you want to observe (e.g.,
email.received). - Click Add.
Add Resend to your project
Add the Resend Node.js SDK to your project using your preferred package manager.
npm npm install resendyarn yarn add resendpnpm pnpm add resendbun bun add resendCreate an API key with "Full access" permission in Resend and add it to your project's .env file.
.env RESEND_API_KEY=re_xxxxxxxxxVerify the webhook request
Webhook signing secrets are used to validate the payload data sent to your application from Resend.
Update your POST route to verify the webhook request using the webhook secret. First, copy the webhook secret from the webhook details page.
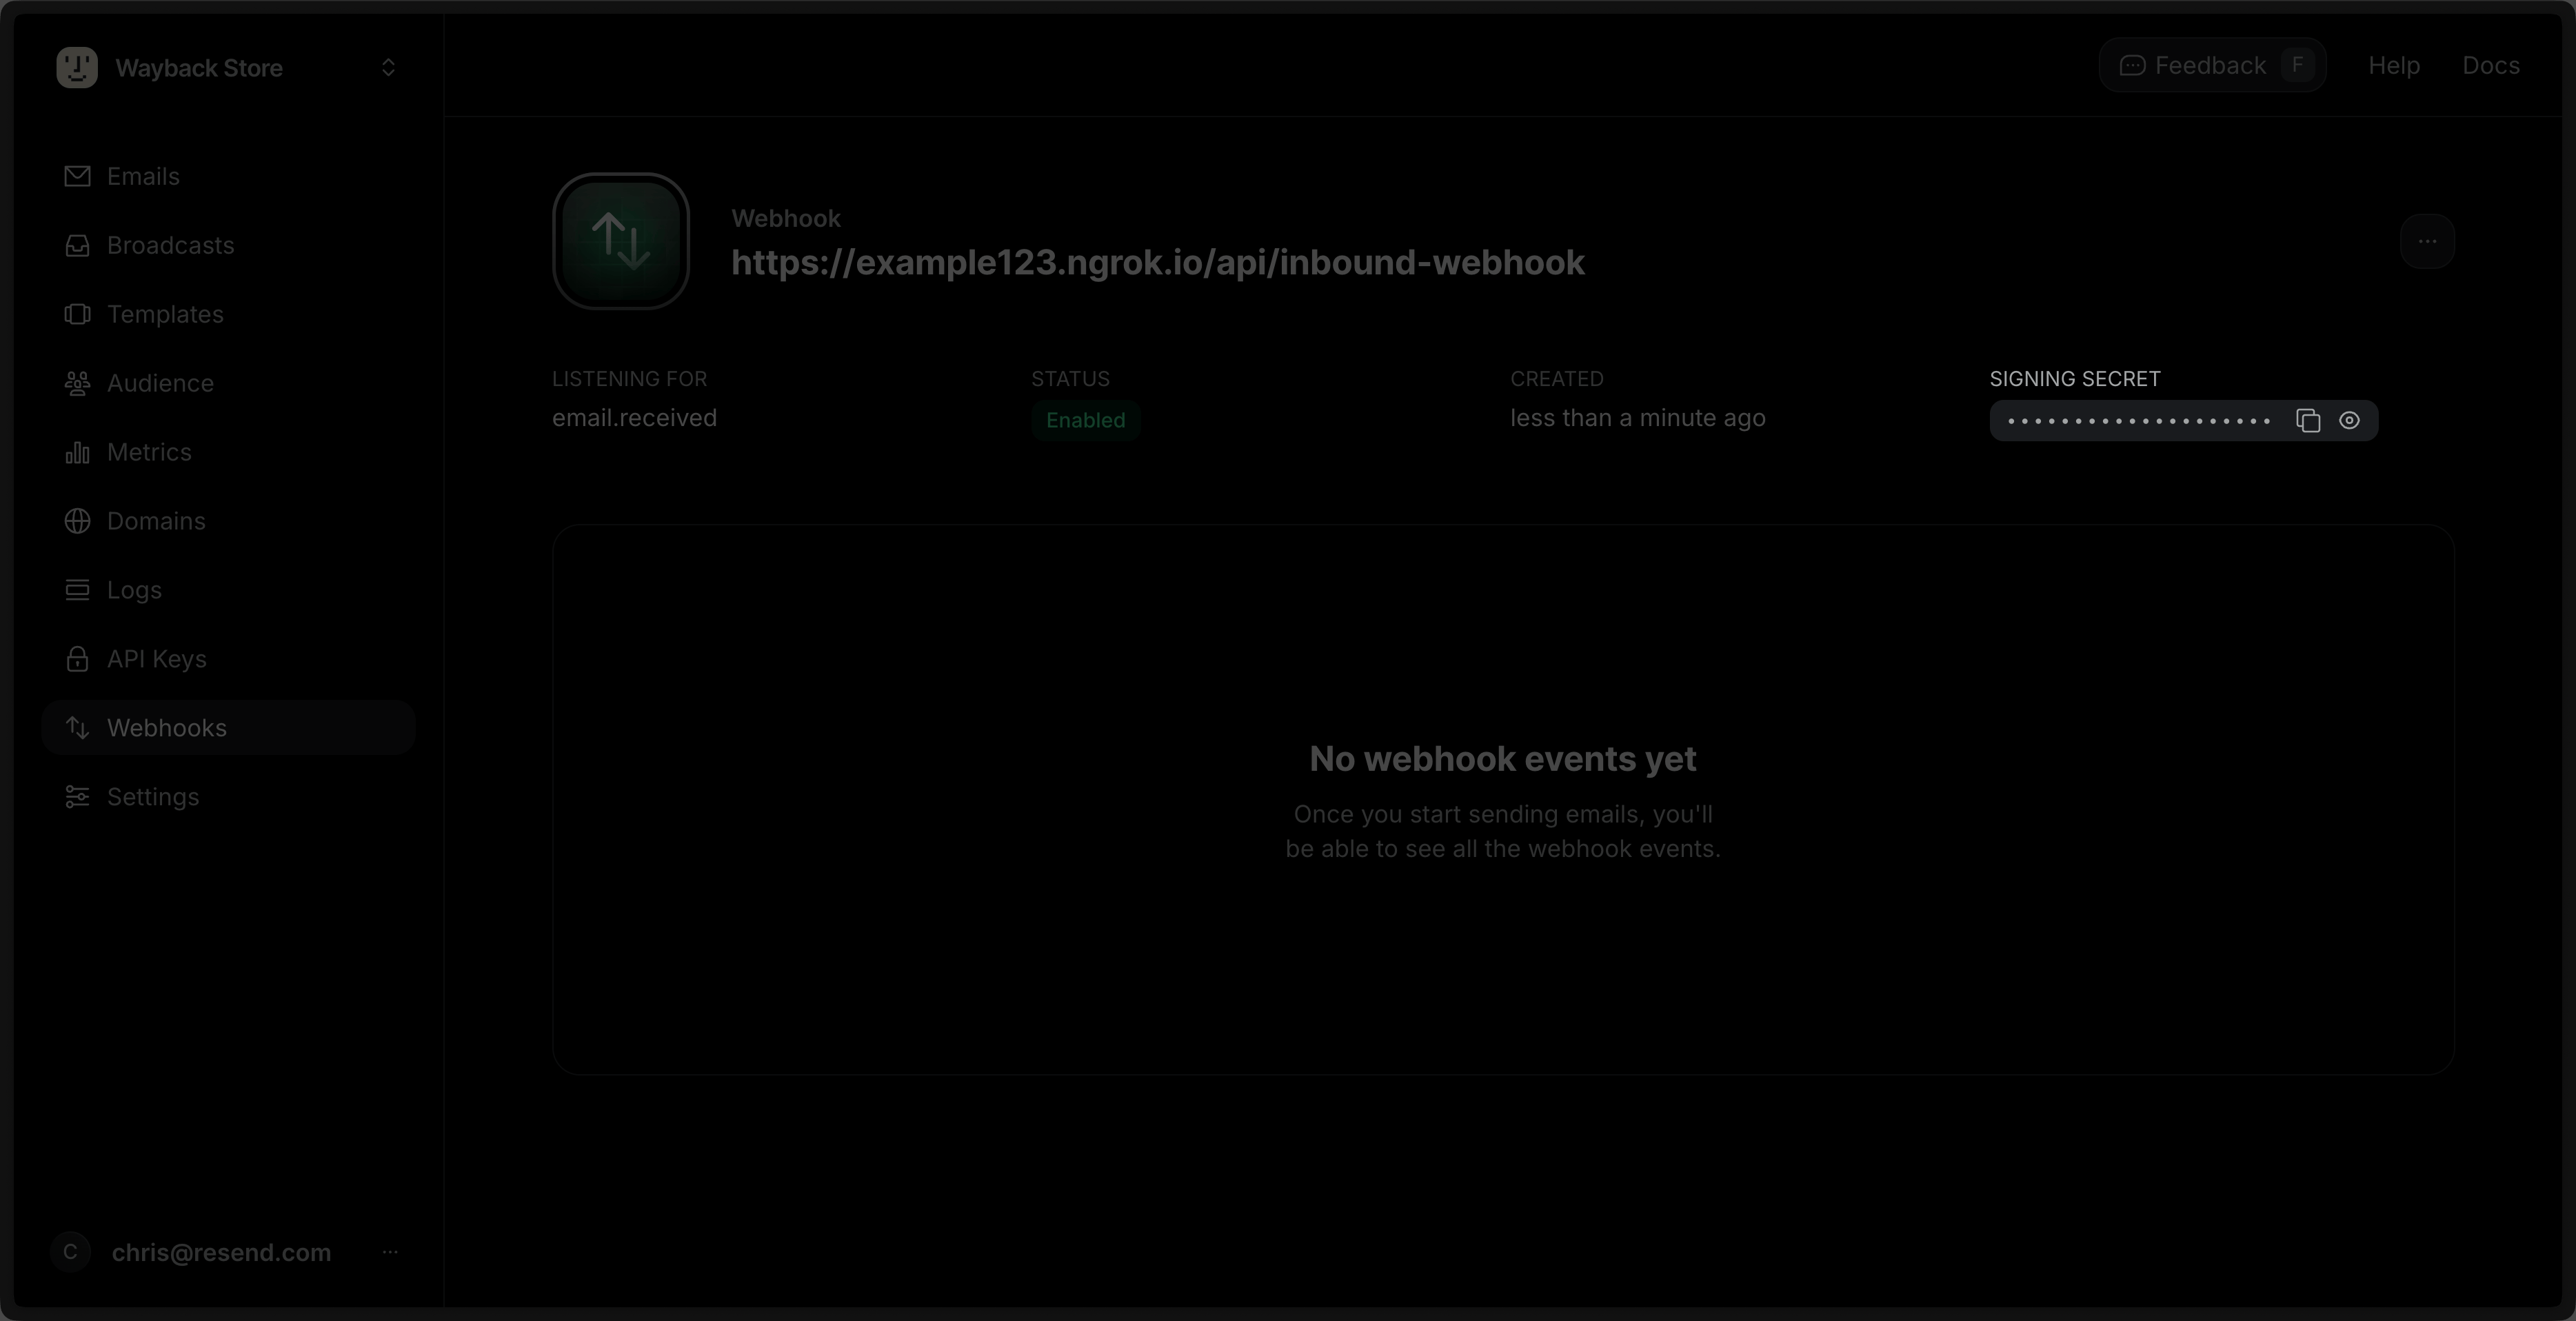
Then, add it to your project's .env file.
.env RESEND_WEBHOOK_SECRET=whsec_xxxxxxxxxxUpdate the POST route to verify the webhook request using the webhook secret.
app/api/inbound-webhook/route.ts import type { NextRequest } from 'next/server'; import { NextResponse } from 'next/server'; import { Resend } from 'resend'; const resend = new Resend(process.env.RESEND_API_KEY); export async function POST(req: NextRequest) { try { // we need raw request text to verify the webhook const payload = await req.text(); const id = req.headers.get('svix-id'); const timestamp = req.headers.get('svix-timestamp'); const signature = req.headers.get('svix-signature'); if (!id || !timestamp || !signature) { return new NextResponse('Missing headers', { status: 400 }); } // Throws an error if the webhook is invalid // Otherwise, returns the parsed payload object const result = resend.webhooks.verify({ payload, headers: { id, timestamp, signature, }, webhookSecret: process.env.RESEND_WEBHOOK_SECRET!, }); return NextResponse.json(result); } catch (error) { console.error(error); return new NextResponse(`Error: ${error}`, { status: 500 }); } }Process incoming emails
Once you verify the webhook, it returns the webhook payload as a JSON object. You can use this payload to forward the email to another email address. Note the following steps:
- Add a guard clause to ensure the event type is
email.received. - Get the incoming email's content
- Download and encode any attachments
- Forward the email (remember to update the
fromandtoaddresses below)
app/api/inbound-webhook/route.ts import type { NextRequest } from 'next/server'; import { NextResponse } from 'next/server'; import { Resend, type ListAttachmentsResponseSuccess } from 'resend'; const resend = new Resend(process.env.RESEND_API_KEY); export async function POST(req: NextRequest) { try { const payload = await req.text(); const id = req.headers.get('svix-id'); const timestamp = req.headers.get('svix-timestamp'); const signature = req.headers.get('svix-signature'); if (!id || !timestamp || !signature) { return new NextResponse('Missing headers', { status: 400 }); } const result = resend.webhooks.verify({ payload, headers: { id, timestamp, signature, }, webhookSecret: process.env.RESEND_WEBHOOK_SECRET!, }); // 1. Add a guard clause to ensure the event type is `email.received`. if (result.type !== 'email.received') { return NextResponse.json({ message: 'Invalid event' }, { status: 200 }); } // 2. Get the incoming email's content const { data: email, error: emailError } = await resend.emails.receiving.get(result.data.email_id); if (emailError) { throw new Error(`Failed to fetch email: ${emailError.message}`); } // 3. Download and encode any attachments const { data: attachmentsData, error: attachmentsError } = await resend.emails.receiving.attachments.list({ emailId: result.data.email_id, }); if (attachmentsError) { throw new Error( `Failed to fetch attachments: ${attachmentsError.message}`, ); } const attachments = attachmentsData?.data as ListAttachmentsResponseSuccess['data'] & { content: string }[]; if (attachments && attachments.length > 0) { // download the attachments and encode them in base64 for (const attachment of attachments) { const response = await fetch(attachment.download_url); const buffer = Buffer.from(await response.arrayBuffer()); attachment.content = buffer.toString('base64'); } } // 4. Forward the email const { data, error: sendError } = await resend.emails.send({ from: 'onboarding@resend.dev', // replace with an email address from your verified domain to: ['delivered@resend.dev'], // replace with the email address you want to forward the email to subject: result.data.subject, html: email.html, text: email.text, attachments, }); if (sendError) { throw new Error(`Failed to forward email: ${sendError.message}`); } return NextResponse.json({ message: 'Email forwarded successfully', data }); } catch (error) { console.error(error); return new NextResponse(`Error: ${error}`, { status: 500 }); } }- Add a guard clause to ensure the event type is
Test the endpoint
You can test the endpoint by sending an email to the domain you verified.
For example, if you verified
marketing.example.com, send an email totest@marketing.example.com.- Try a simple HTML email with a subject and a body.
- Try an email with an attachment or multiple attachments.
You can view the received email in the Emails page and see the webhook payload in the Webhooks page.
Go to Production
Once you've tested the endpoint:
- Publish your application to your production environment.
- Add your production POST endpoint as a new webhook in Resend.