Get Started with Resend and Supabase
This guide helps you get started with Resend by:
Set up Resend
Section titled “Set up Resend”To send emails with your Supabase project, you'll need to first verify it in Resend.
Go to the Domains page and click on Add Domain.
- Add your domain name. We recommend using a subdomain like
updates.example.cominstead of the root domain. - Add the DNS records to your DNS provider (learn more about these records).
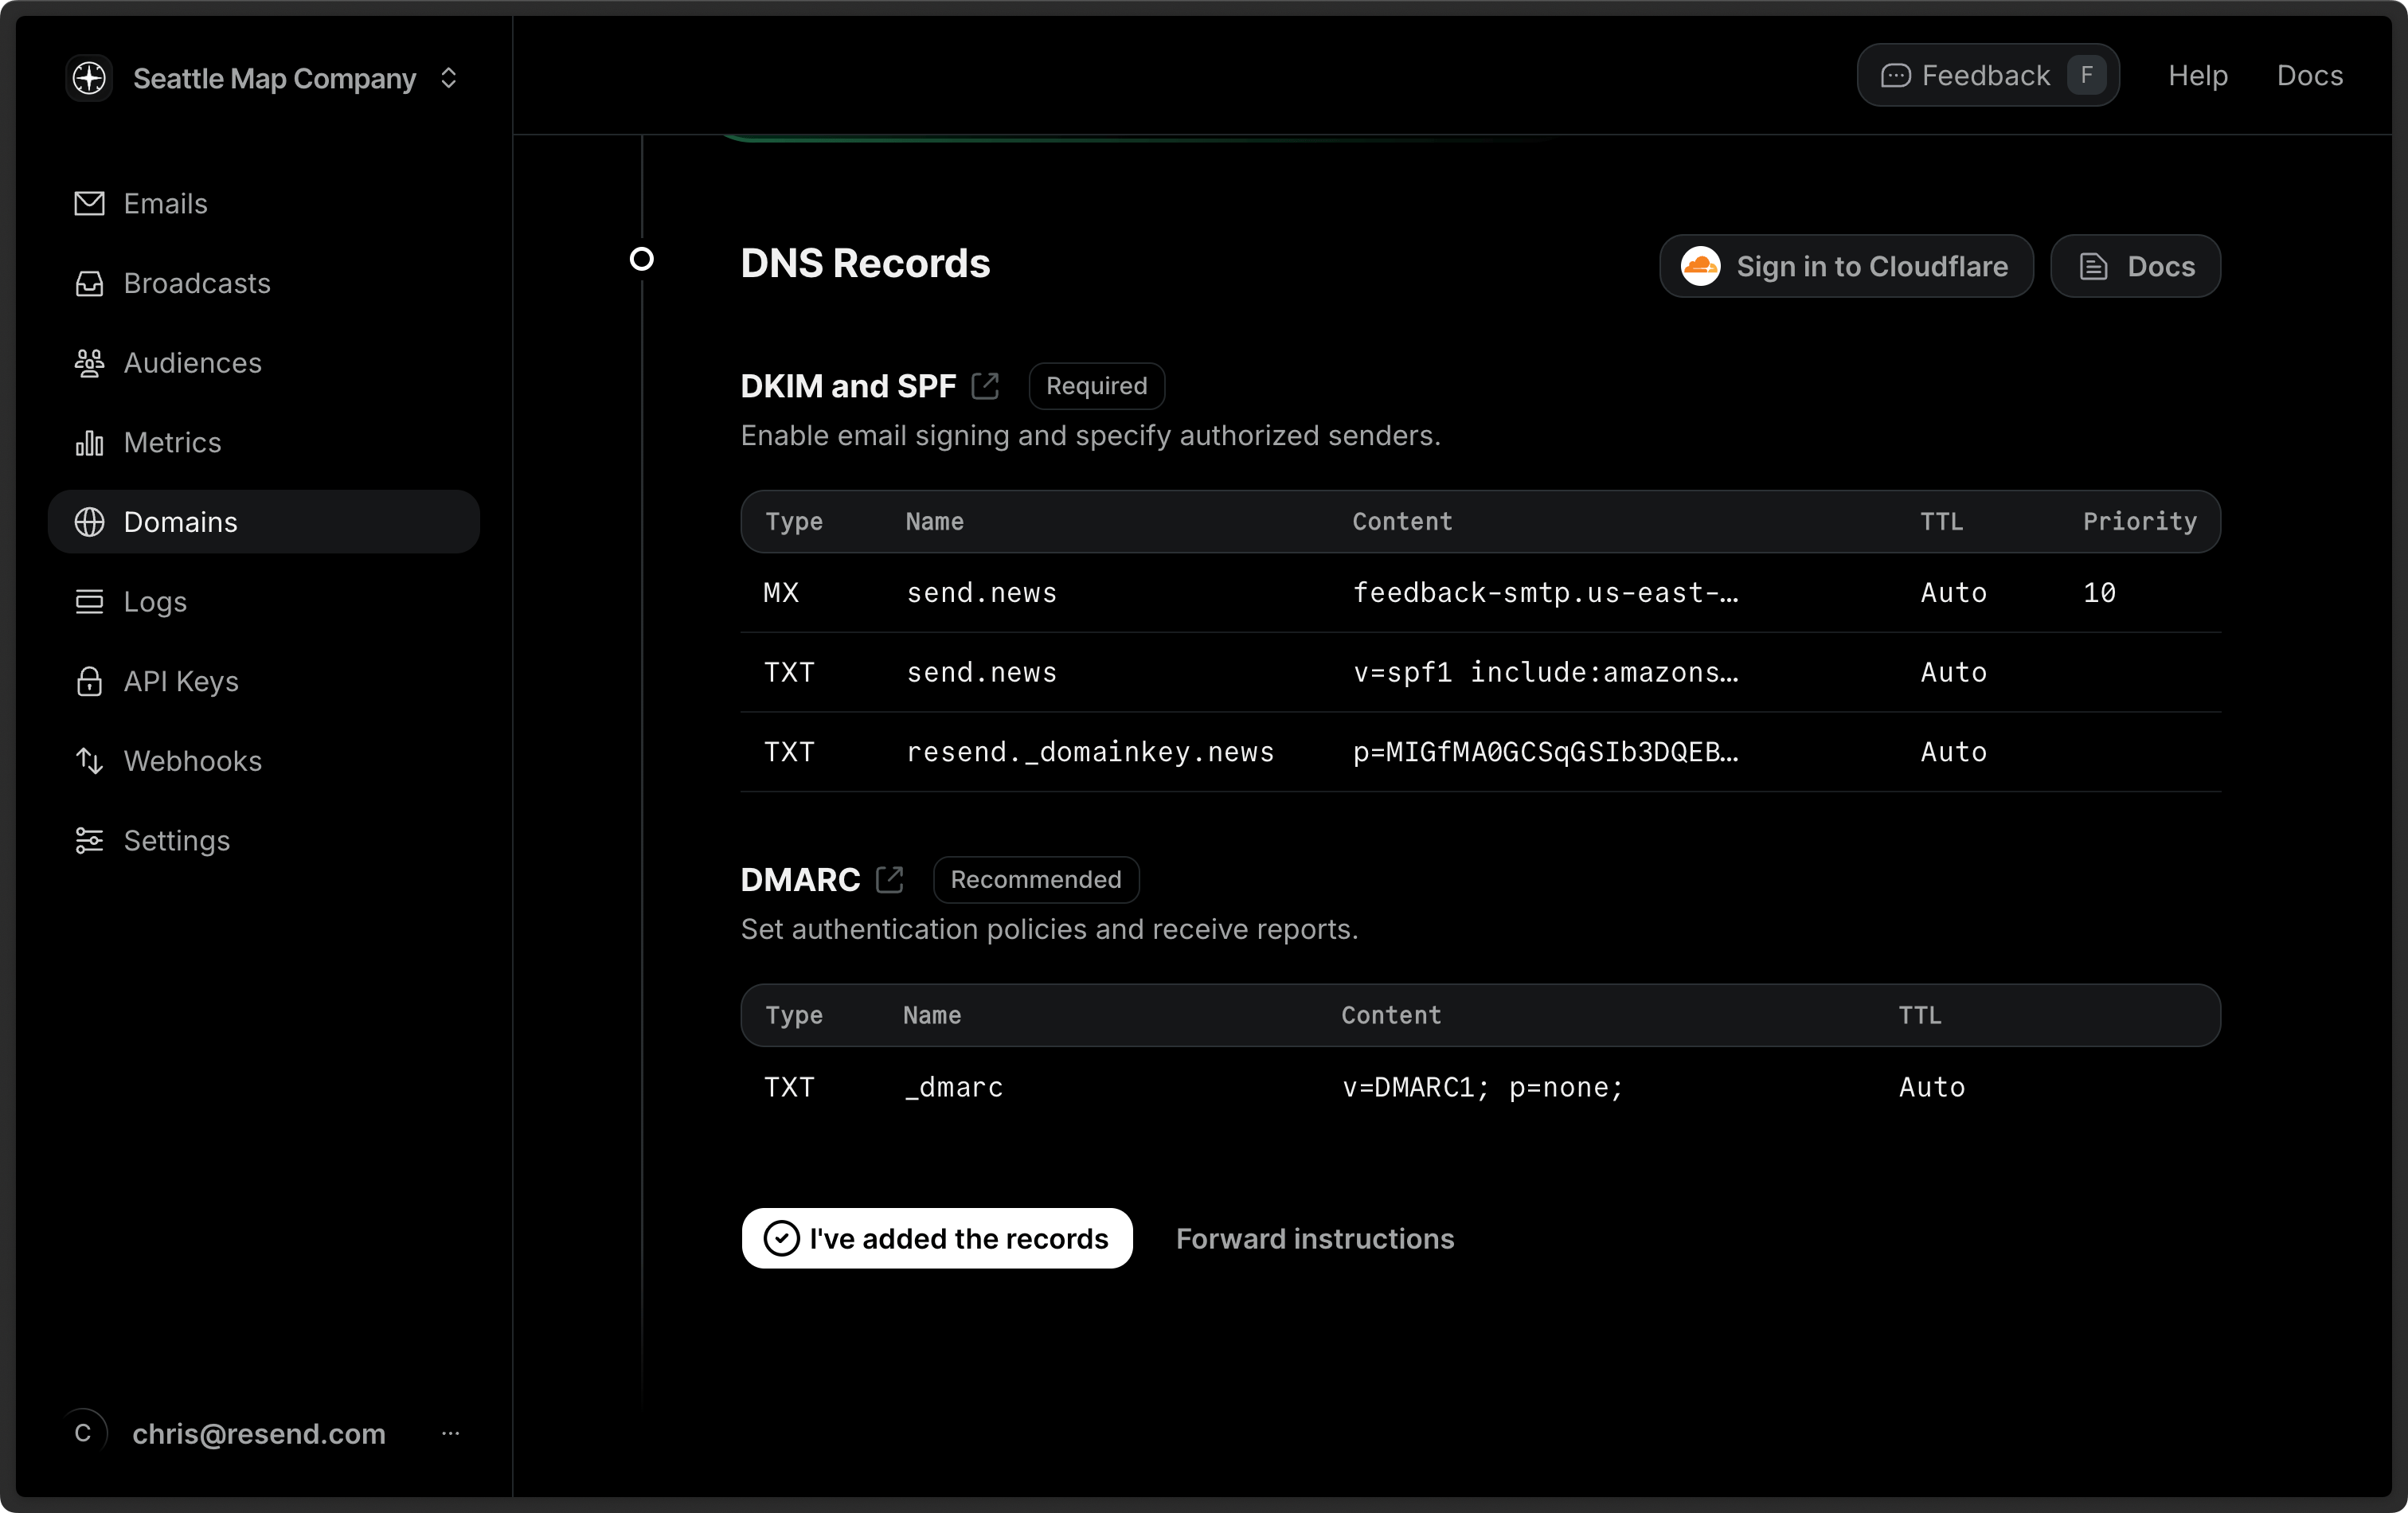
- Click on Verify DNS Records to begin the verification process.
- Wait for the verification to complete (usually takes 5–10 minutes)
Send Auth Emails with Resend
Section titled “Send Auth Emails with Resend”If you want to use Resend to send your Supabase Auth Emails, you have three options:
- Using the Resend Integration: simplest, but less customizable email templates.
- Custom Auth Functions: more customizable email templates, but requires more setup.
- Self-hosted with custom SMTP: only for those self-hosting Supabase.
Send with the Resend Integration
Section titled “Send with the Resend Integration”Resend includes a pre-built integration with Supabase. Connecting Resend as your email provider will allow you to send your Supabase emails (for example, password resets and email confirmations) through Resend.
- Open the Resend Integrations settings.
- Click Connect to Supabase and login to your Supabase account if prompted.
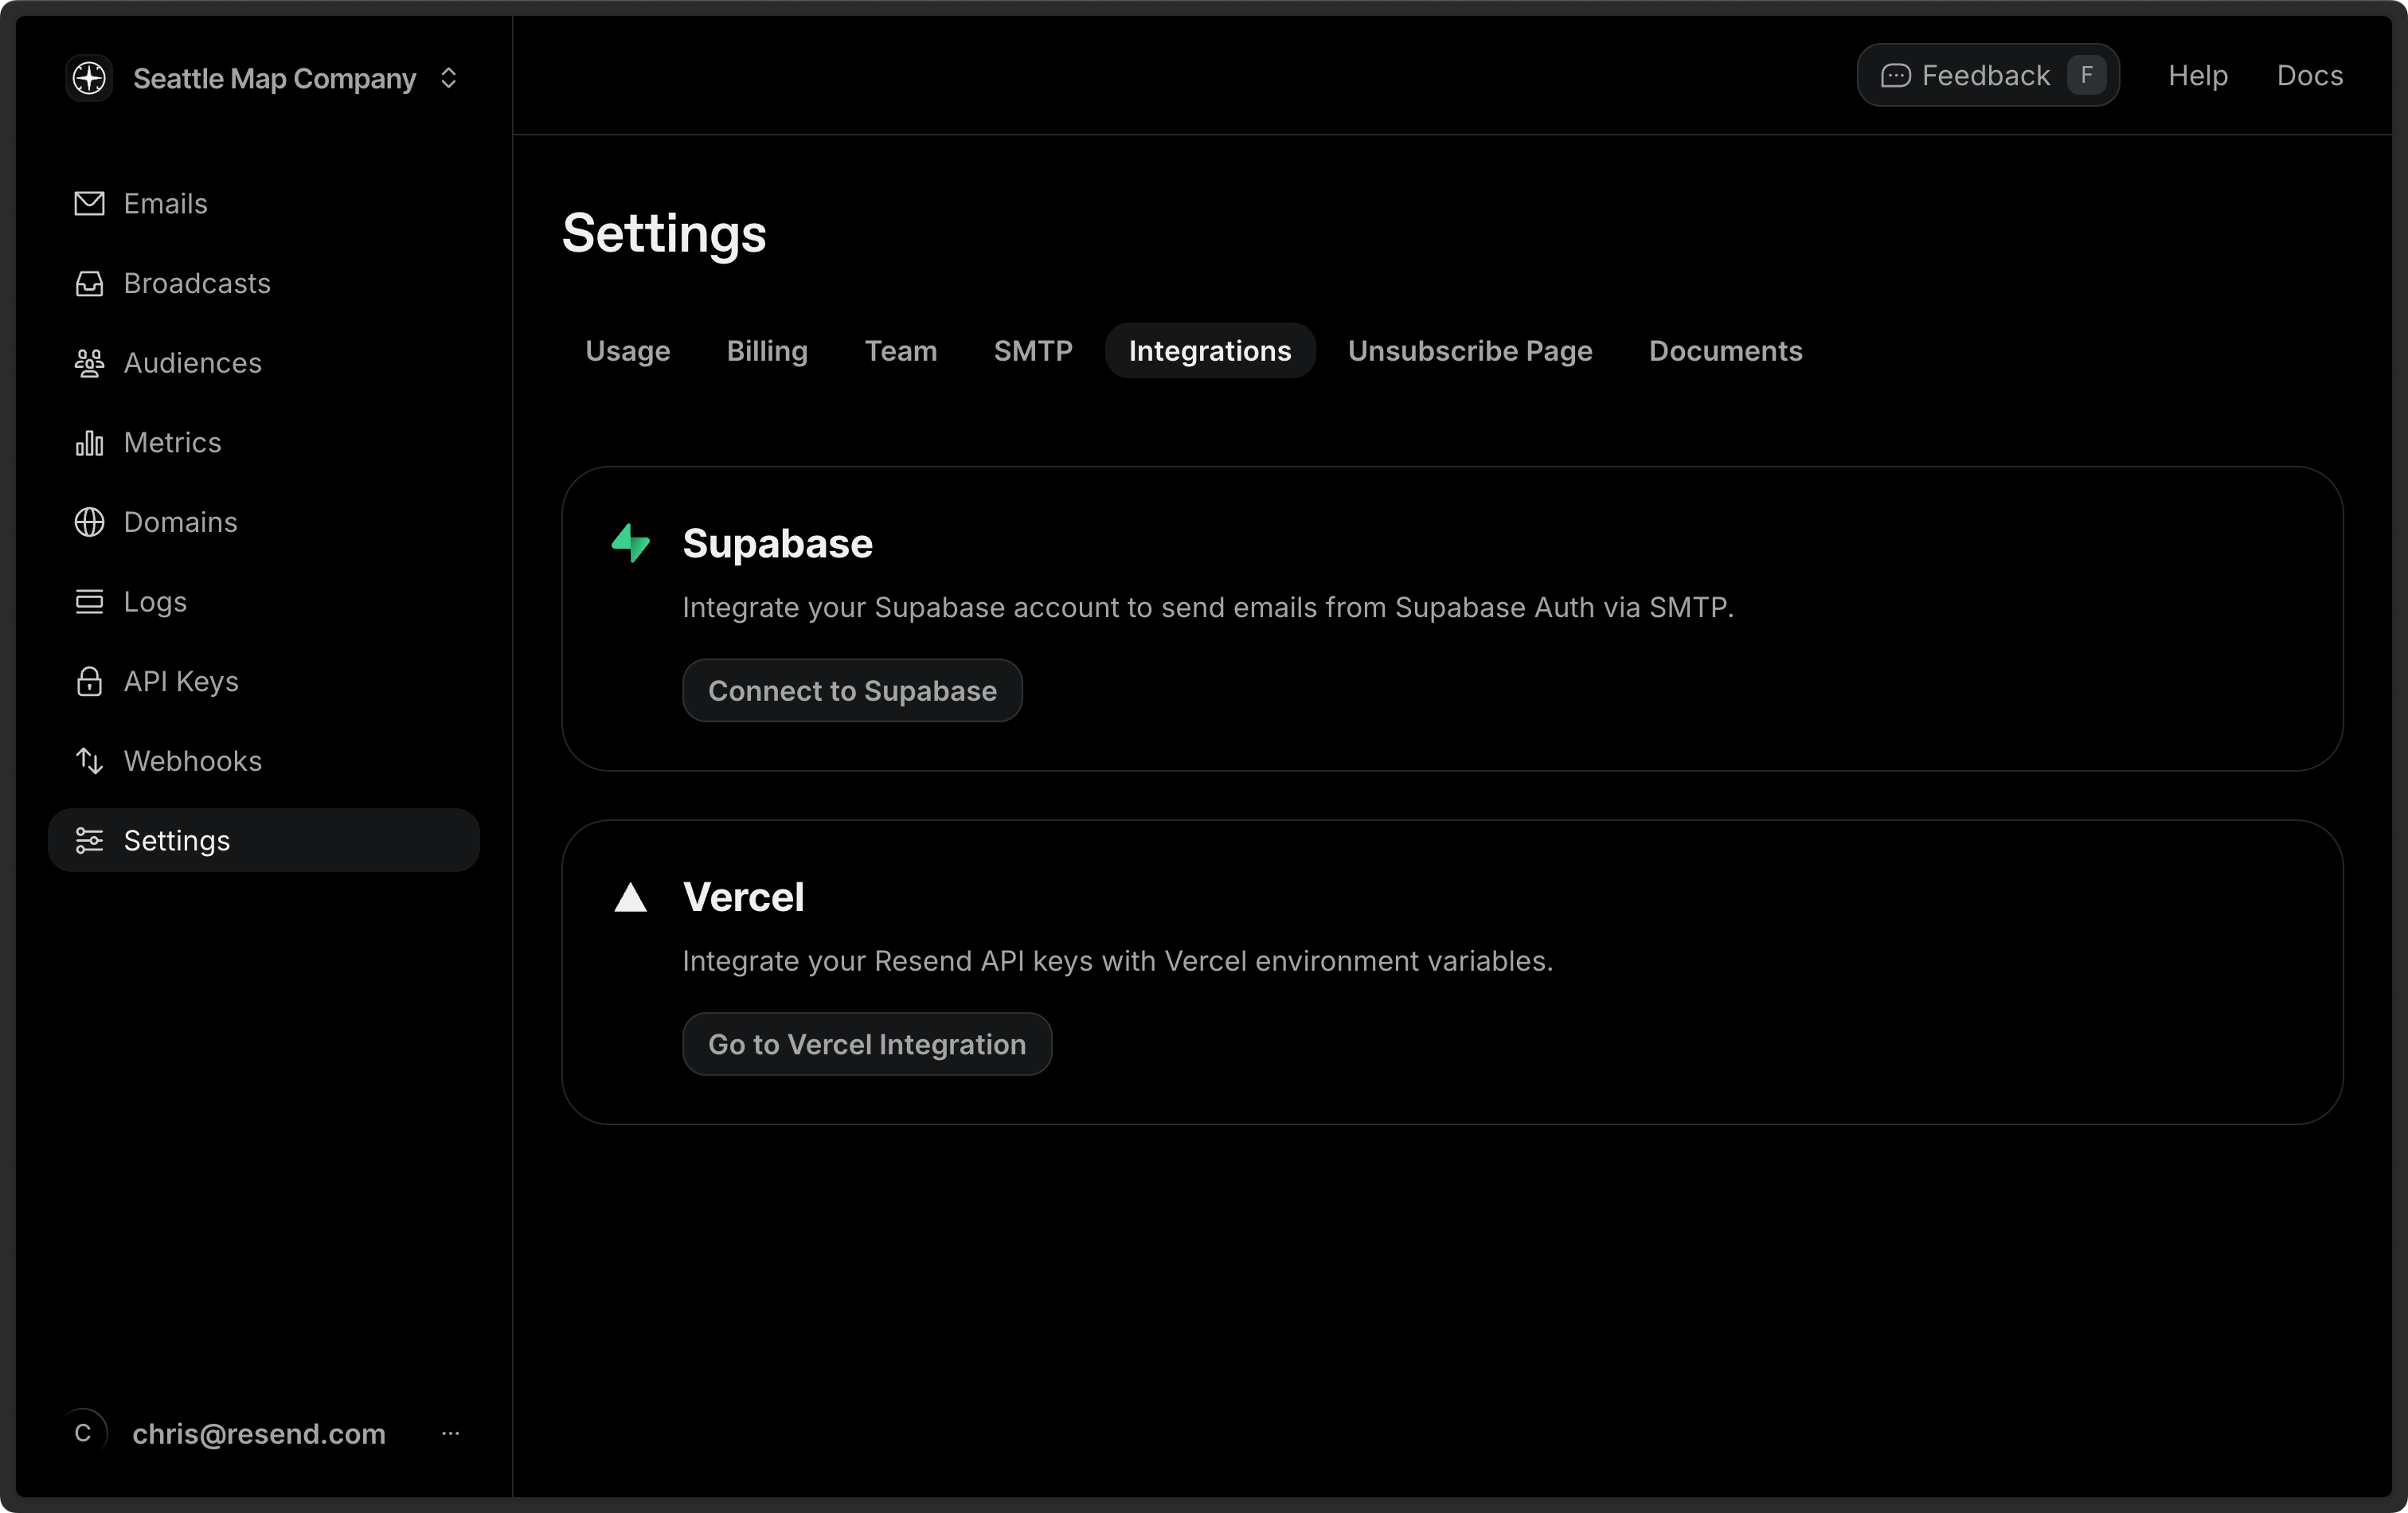
- Select a project and click Select Project, then select your domain and click Add API Key. Resend will create an API key for you. Add a sender name and click Configure SMTP Integration.
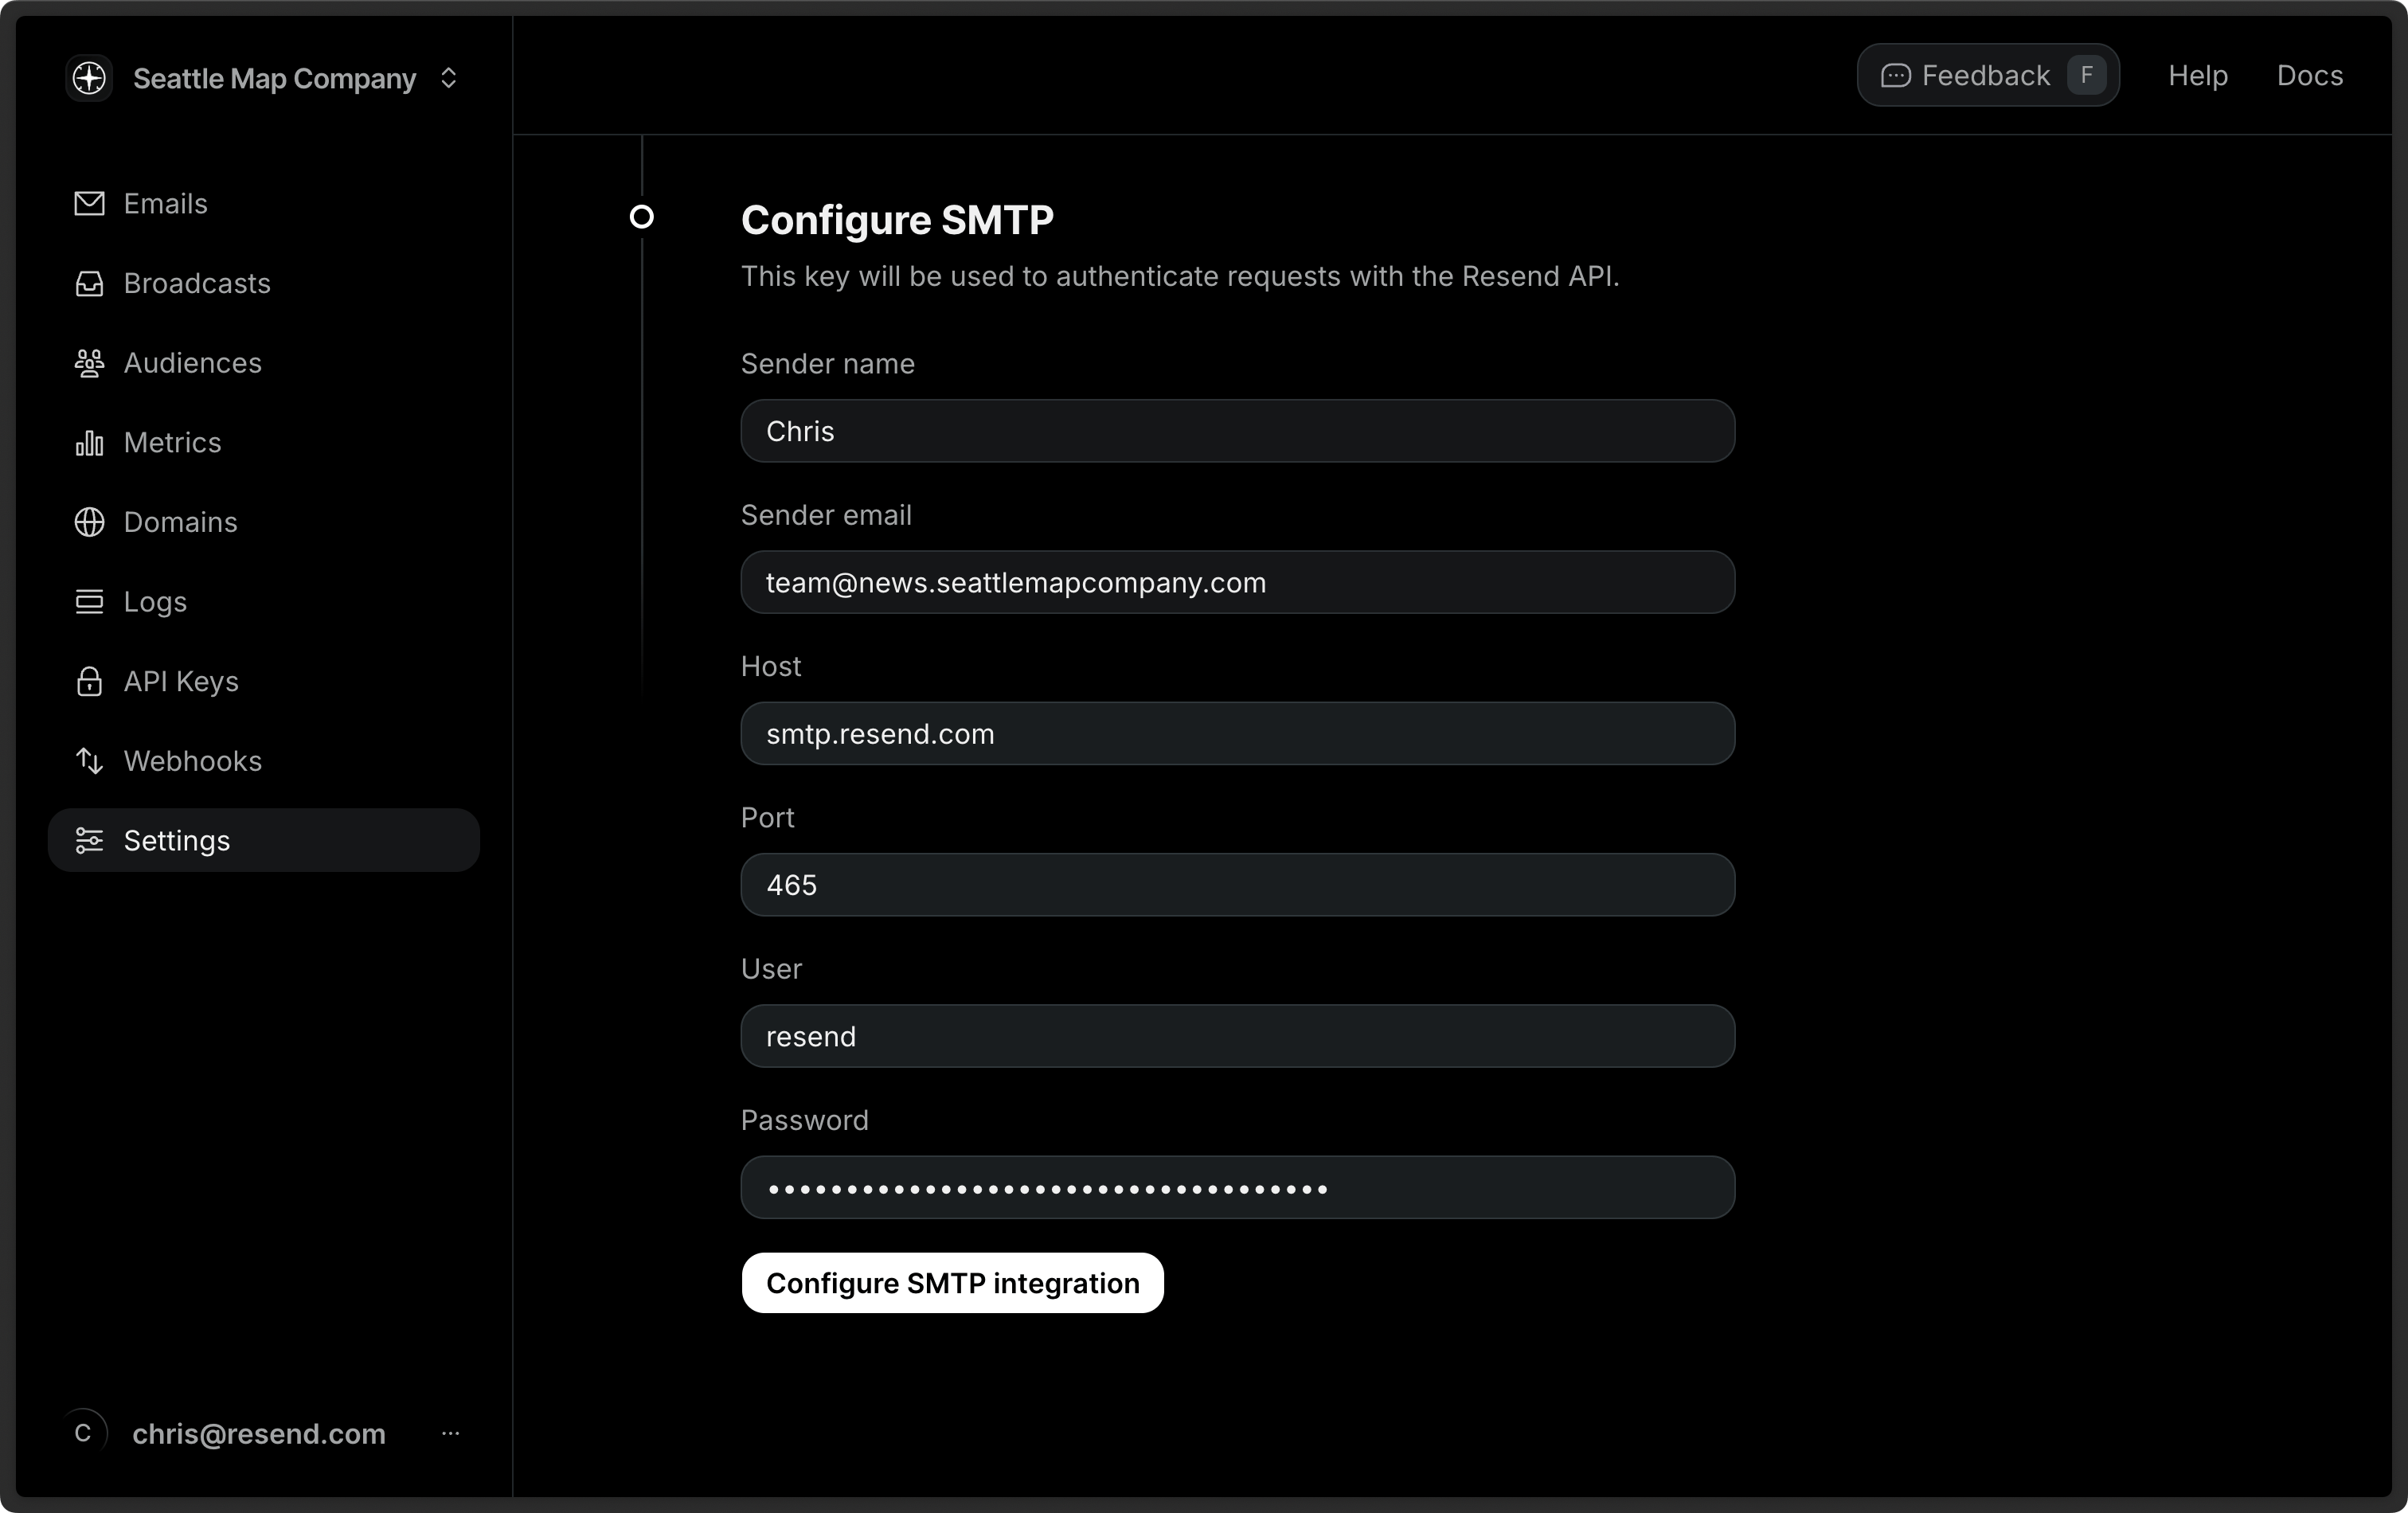
Click on Supabase Dashboard to confirm the integration.

Send with custom auth functions
Section titled “Send with custom auth functions”Benefit of using custom auth functions:
- More control over the email sending process since you control the sending function.
- More control over the email template using React Email or Resend Templates.
Note that this requires enabling Supabase Auth Hooks.
Supabase Auth Hooks with Resend Templates
See the full source code.
Send with a custom SMTP server for self-hosting
Section titled “Send with a custom SMTP server for self-hosting”If you're self-hosting Supabase, you can use a custom SMTP server to send your emails. Learn more here.
Send Emails with Supabase Edge Functions
Section titled “Send Emails with Supabase Edge Functions”If you're using Supabase Edge Functions, you can add email sending to your function by using the Resend Node.js SDK. You can use these functions for Auth Emails (as shown above) or for other emails (for example, app notifications and account activity).
First, make sure you have the latest version of the Supabase CLI installed.
Create Supabase function
Create a new function locally:
Bash supabase functions new resendEdit the handler function
Paste the following code into the
index.tsfile:index.ts import { serve } from "https://deno.land/std@0.168.0/http/server.ts"; const RESEND_API_KEY = 're_xxxxxxxxx'; const handler = async (_request: Request): Promise<Response> => { const res = await fetch('https://api.resend.com/emails', { method: 'POST', headers: { 'Content-Type': 'application/json', 'Authorization': `Bearer ${RESEND_API_KEY}` }, body: JSON.stringify({ from: 'Acme <onboarding@resend.dev>', to: ['delivered@resend.dev'], subject: 'hello world', html: '<strong>it works!</strong>', }) }); const data = await res.json(); return new Response(JSON.stringify(data), { status: 200, headers: { 'Content-Type': 'application/json', }, }); }; serve(handler);Deploy and send email
Run function locally:
Bash supabase functions start supabase functions serve resend --no-verify-jwtDeploy function to Supabase:
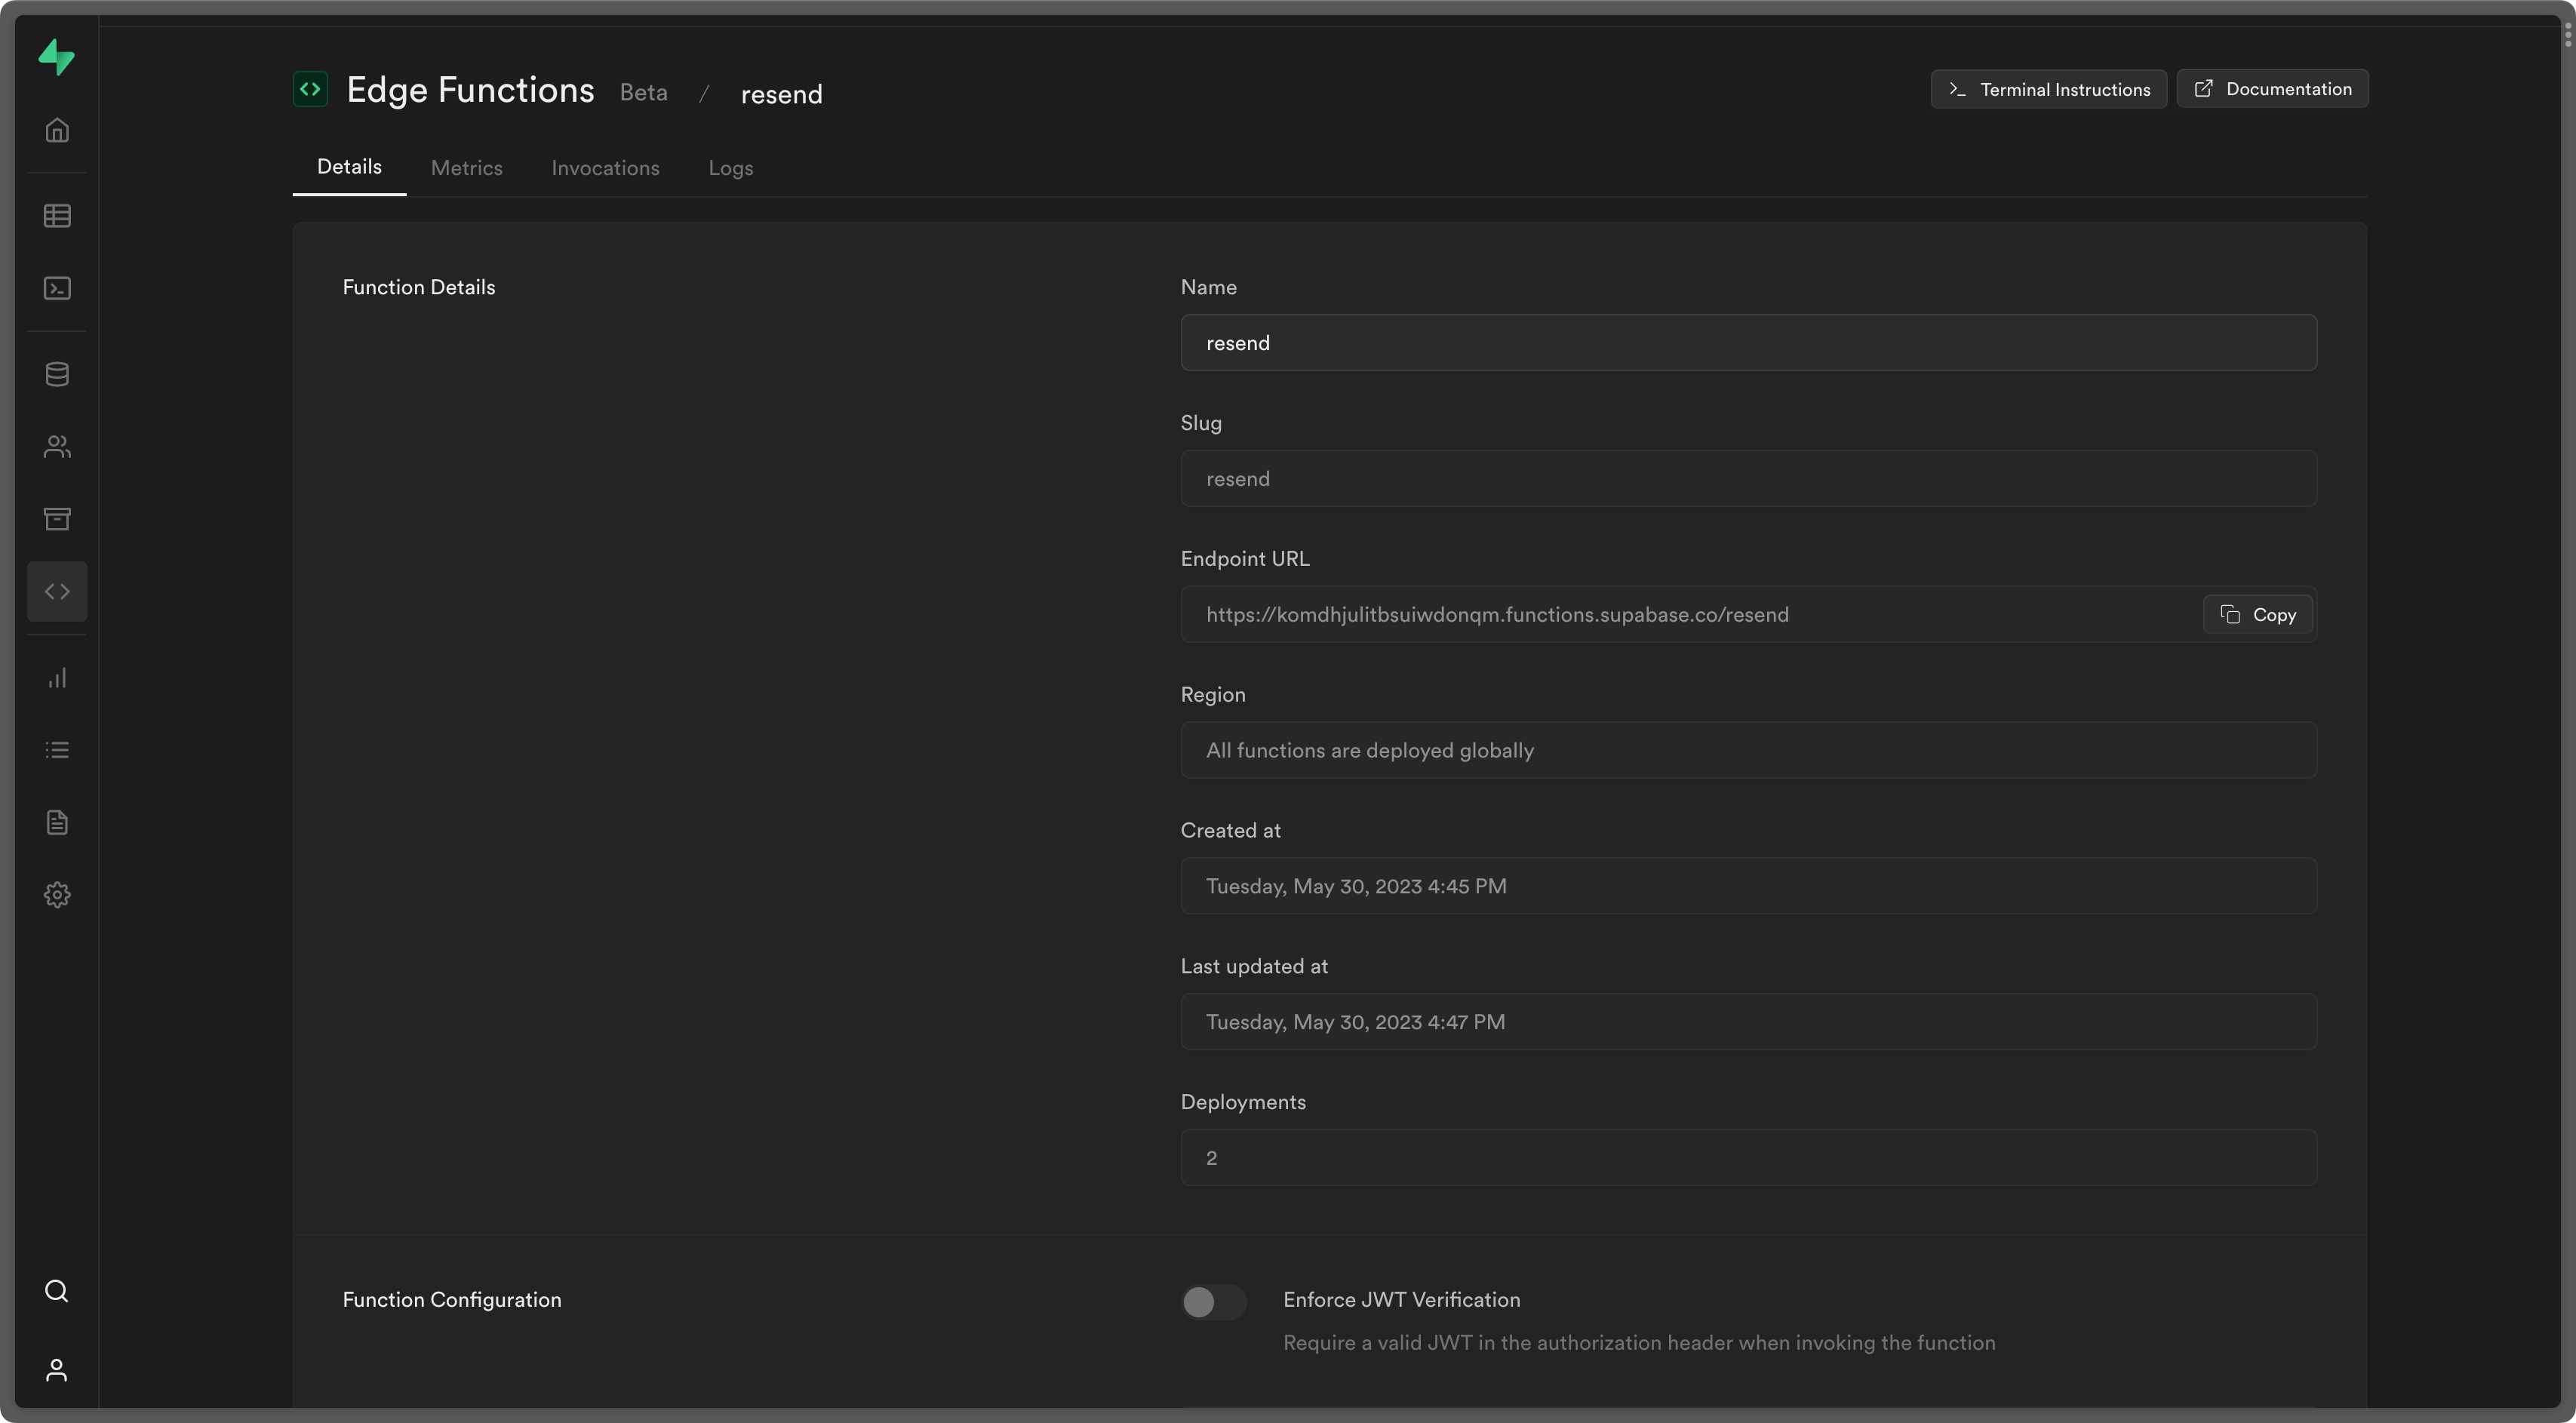
Bash supabase functions deploy resendOpen the endpoint URL to send an email:
Examples
Section titled “Examples”Supabase Edge Functions Example
See the full source code.
Get more help
Section titled “Get more help”If you have any questions, please let us know at support@resend.com.