Send emails with n8n and Resend
n8n is a workflow automation platform that lets you connect apps and build powerful automations. The official Resend node (n8n-nodes-resend) provides full coverage of the Resend API. From within n8n, you can send emails, manage contacts, handle domains, and trigger workflows from email events.
How to use Resend's n8n node
Section titled “How to use Resend's n8n node”Install the Resend node
- Open the nodes panel by selecting + or pressing Tab 2. Search for Resend 3. Select Install to install the node for your instance 4. The node is now available in all your workflows
Setup Resend
- Create an API Key: copy this key to your clipboard
- Verify your own domain: to send to email addresses other than your own
Add your Resend API credential
- In n8n, go to Credentials > Add credential. 2. Search for Resend API and paste your API key.
This credential is used by the main **Resend** node for all API operations.Send your first email
- Click the + (Add node) connector on the canvas.
- Search for Resend in the nodes panel.
- n8n displays a list of available actions — select Send an Email.
- The Resend node is added to your workflow with the Send operation pre-selected.
- Fill in the From, To, Subject, and Email Body fields.
- Execute the node.
Human in the Loop (Send and Wait)
Section titled “Human in the Loop (Send and Wait)”The Send and Wait for Response operation enables human-in-the-loop workflows. Send an email and pause the workflow until the recipient responds, via approval buttons or a free-text form.
- Select the Email resource and the Send and Wait for Response operation.
- Choose a Response Type: Approval (buttons) or Free Text (form).
- Configure the email content and any wait-time limits.
- The workflow pauses until the recipient clicks a button or submits the form.
| Option | Description |
|---|---|
| Response Type | Choose between Approval (buttons) or Free Text (form) |
| Approval Type | Single button (Approve only) or Double (Approve/Decline) |
| Button Labels | Customize the button text |
| Message Button Label | Label for the form link button (Free Text mode) |
| Response Form Title | Title shown on the response form |
| Limit Wait Time | Set a timeout for the wait period |
Receive webhooks with the Resend Trigger
Section titled “Receive webhooks with the Resend Trigger”The Resend Trigger node lets you start workflows automatically when email events occur in Resend (e.g., an email is delivered, opened, or bounced). Webhook signatures are verified automatically using Svix.
Set up the Trigger node
Section titled “Set up the Trigger node”- Add a Resend Trigger node to your workflow.
- Create a Resend Webhook Signing Secret credential:
- Create a webhook endpoint in the Resend Dashboard.
- Copy the signing secret (starts with
whsec_). - In n8n, go to Credentials > Add credential, search for Resend Webhook Signing Secret, and paste the secret.
- Select the events you want to listen for.
- Copy the webhook URL from the Trigger node and paste it into your Resend Dashboard webhook configuration.
Supported trigger events
Section titled “Supported trigger events”| Event | Description |
|---|---|
email.sent |
Email sent to recipient |
email.delivered |
Email delivered successfully |
email.delivery_delayed |
Email delivery delayed |
email.failed |
Email failed to send due to an error (for example, invalid recipients, API key issues, domain verification, or quota limits) |
email.opened |
Recipient opened the email |
email.clicked |
Link clicked in email |
email.bounced |
Email bounced |
email.complained |
Spam complaint received |
email.received |
Resend successfully received an inbound email |
email.scheduled |
Email is scheduled to be sent |
email.suppressed |
Email is suppressed by Resend |
contact.created |
New contact added |
contact.updated |
Contact modified |
contact.deleted |
Contact removed |
domain.created |
New domain added |
domain.updated |
Domain modified |
domain.deleted |
Domain removed |
Example workflow: Send a welcome email when a contact is created
Section titled “Example workflow: Send a welcome email when a contact is created”Here's a simple workflow you can build with the Resend nodes:
- Resend Trigger: listens for
contact.createdevents. - Resend (Email > Send): sends a welcome email to the new contact using data from the trigger.
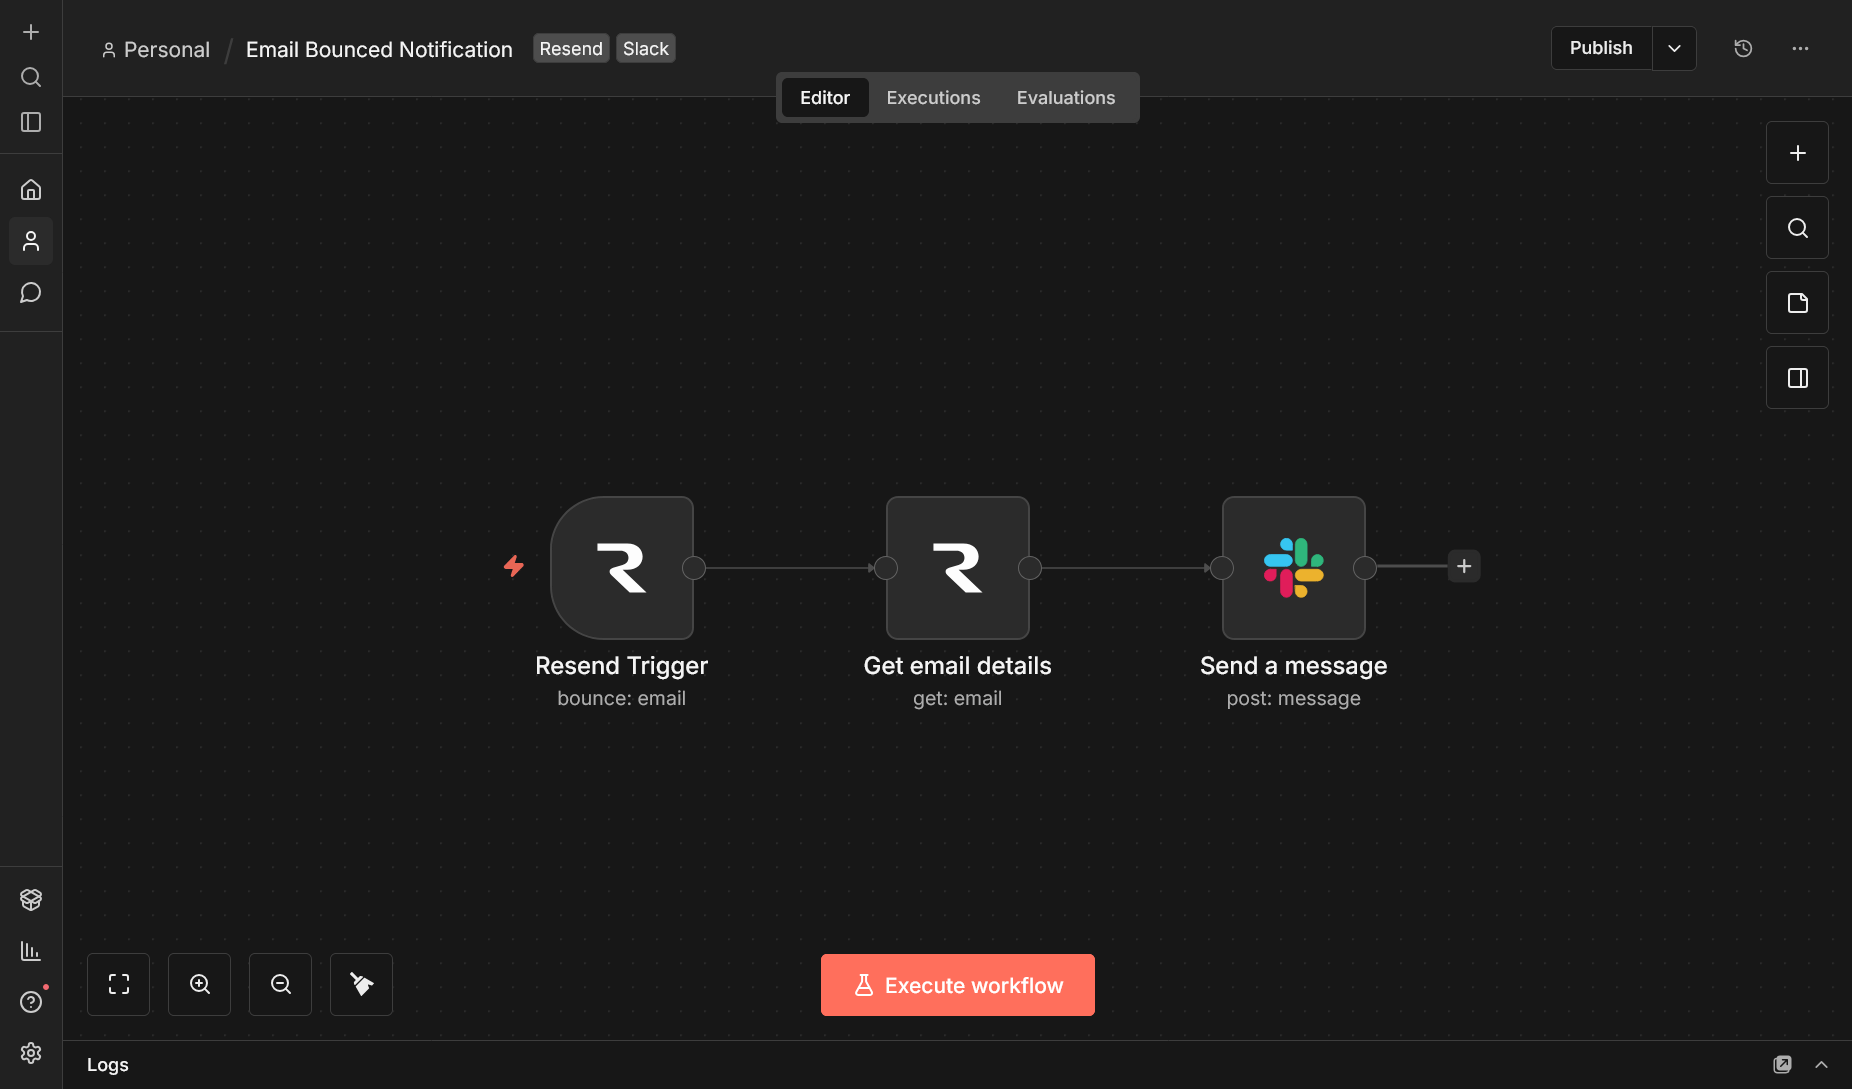
The Trigger-Action pattern works for any event. For example, you can notify your team on Slack when an email bounces, or log delivery events to a spreadsheet.