How to set up Apple Branded Mail
Prerequisites
Section titled “Prerequisites”To get the most out of this guide, you will need to:
- Create an Apple Business Connect account
- Setup DMARC on your domain
- A company identification number for Apple to verify your company
Prefer watching a video? Check out our video walkthrough below.
Why use Apple Branded Mail
Section titled “Why use Apple Branded Mail”Apple Branded Mail is a proprietary Apple format that displays your logo as an avatar in the inbox of Apple Mail. Displaying your logo can increase brand recognition and trust and improve engagement.
There are a few benefits of Apple Branded mail over BIMI:
- Since it's an Apple format, it does not require a certificate like BIMI does.
- The image support is broader, supporting
.png,.heif, and.jpglogos.
Since Apple Branded Mail works only with Apple Mail on new iOS, iPadOS, and macOS versions, your logo will not show in other mail clients or older versions of Apple Mail.
For this reason, follow all possible methods for adding your logo to your emails, including Apple Branded Mail, our general guide, and BIMI if it fits your needs.
Implementing Apple Branded Mail
Section titled “Implementing Apple Branded Mail”Configure DMARC
To ensure your logo appears with Apple Branded Mail, set your DMARC policy to either
p=quarantine;orp=reject;. This policy guarantees that your emails are authenticated and prevents others from spoofing your domain and sending emails with your logo.Here's an overview of the required parameters:
Parameter Purpose Required Value pPolicy p=quarantine;orp=reject;pctPercentage pct=100;Here is an example of an adequate DMARC record:
"v=DMARC1; p=quarantine; pct=100; rua=mailto:dmarcreports@example.com"As we mention in our DMARC Setup Guide, be sure to test your emails to make sure they are passing DMARC before changing your DMARC policy to
p=quarantine;orp=reject;.Create an Apple Business Connect account
Apple displays the logo you set in your Business Connect account. Create an account if your company does not already have one. Make sure to use your company details when signing up.
Add your company details
Apple will prompt you to provide details like your company address and name.
Add your brand details
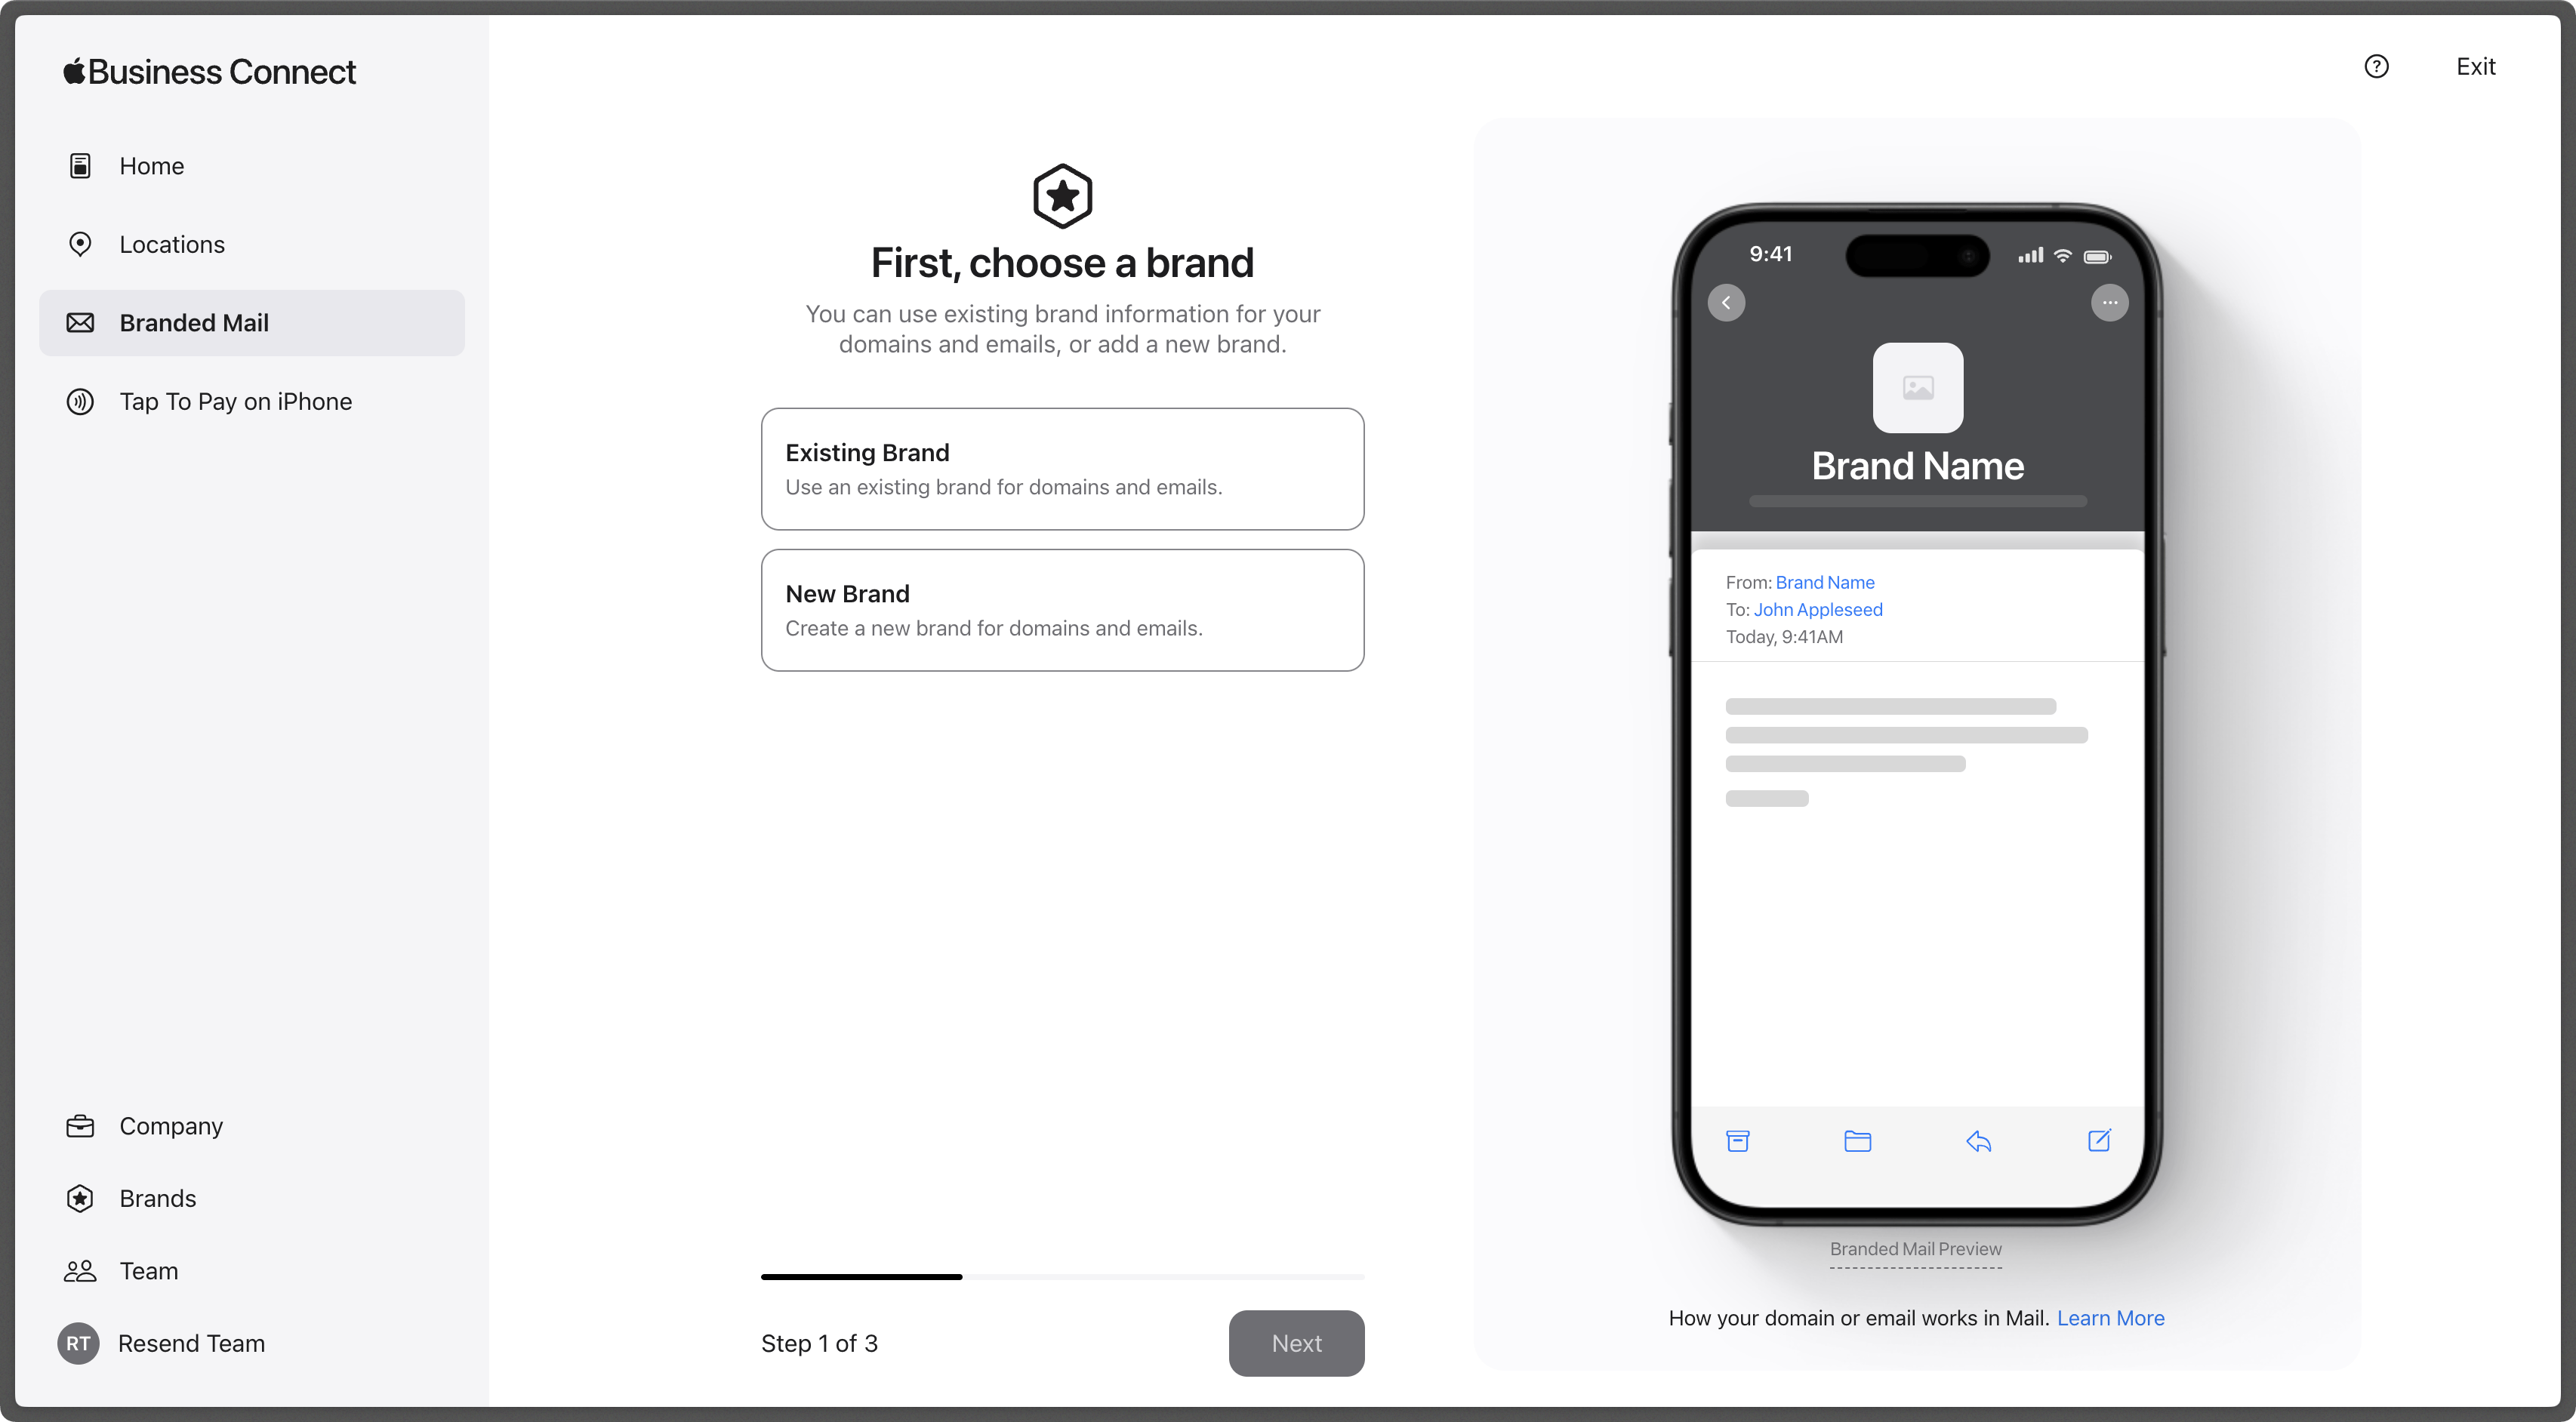
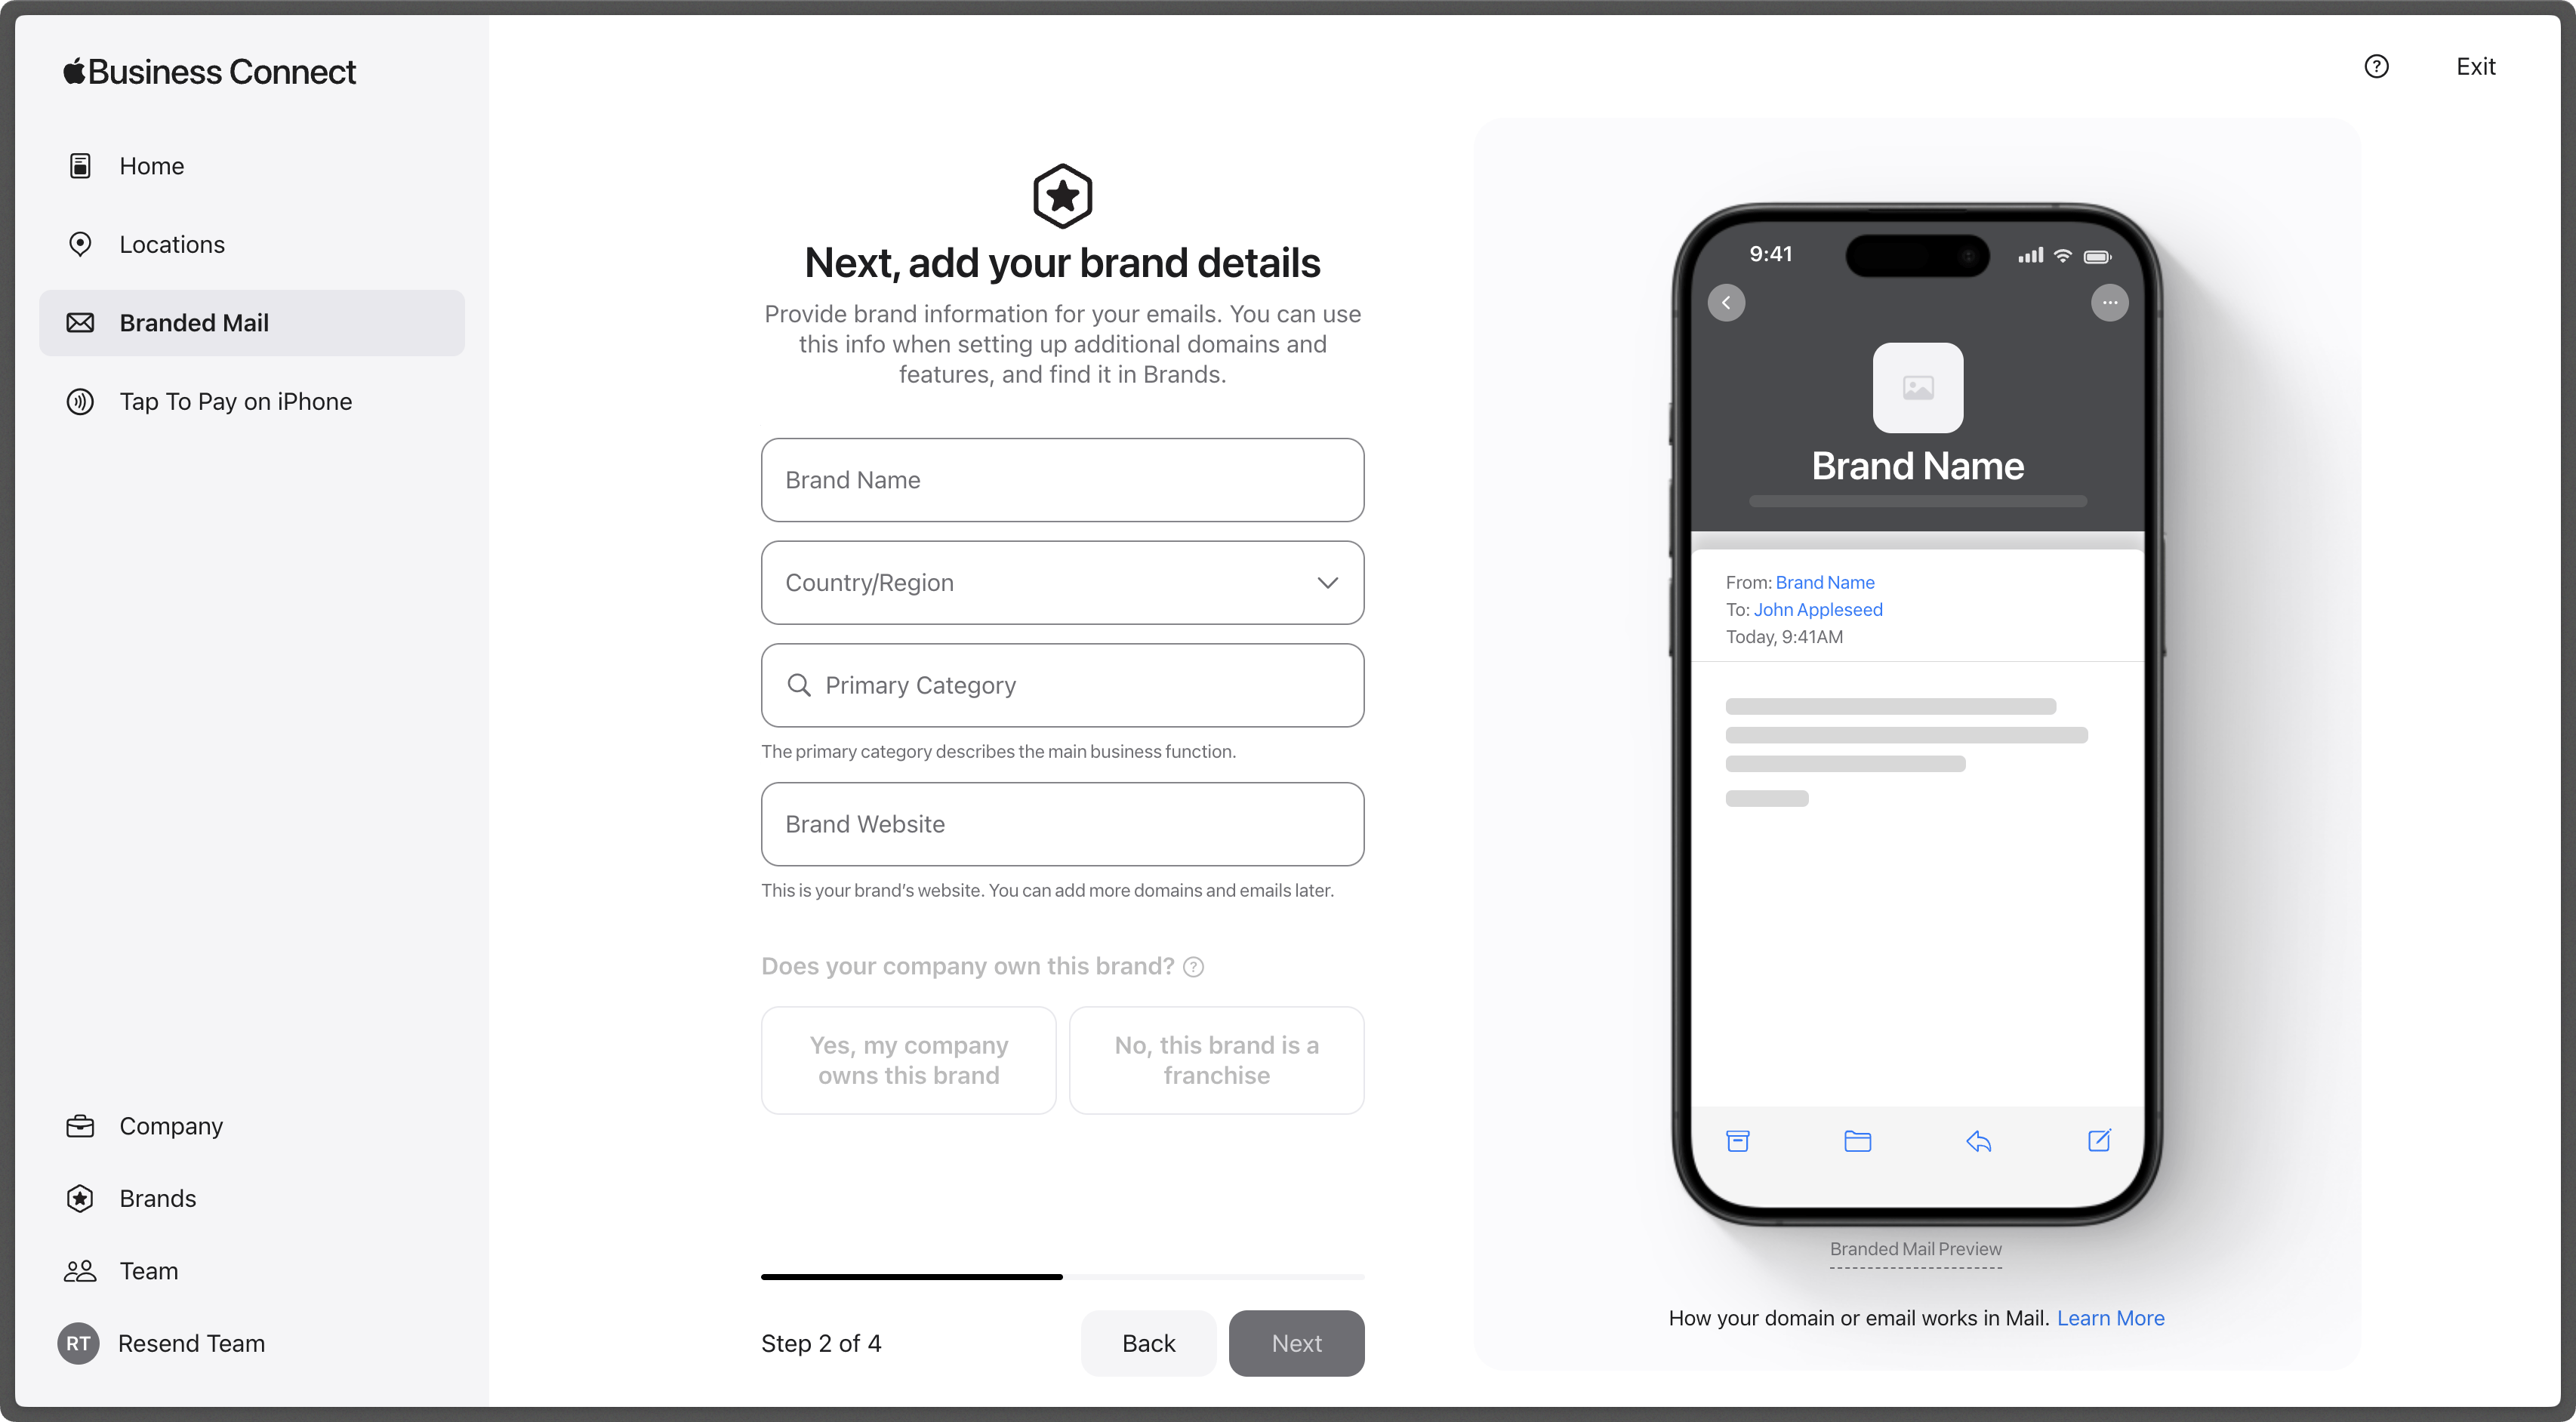
Once your company account is created, in Apple Business Connect, select the Branded Mail option in the left sidebar and provide details on your brand. Add details like the brand name and your brand website.
Add your logo
Once you fill out the brand details, upload your logo. Apple requires the logo to be at least 1024 x 1024 px in a
.png,.heif, or.jpegformat.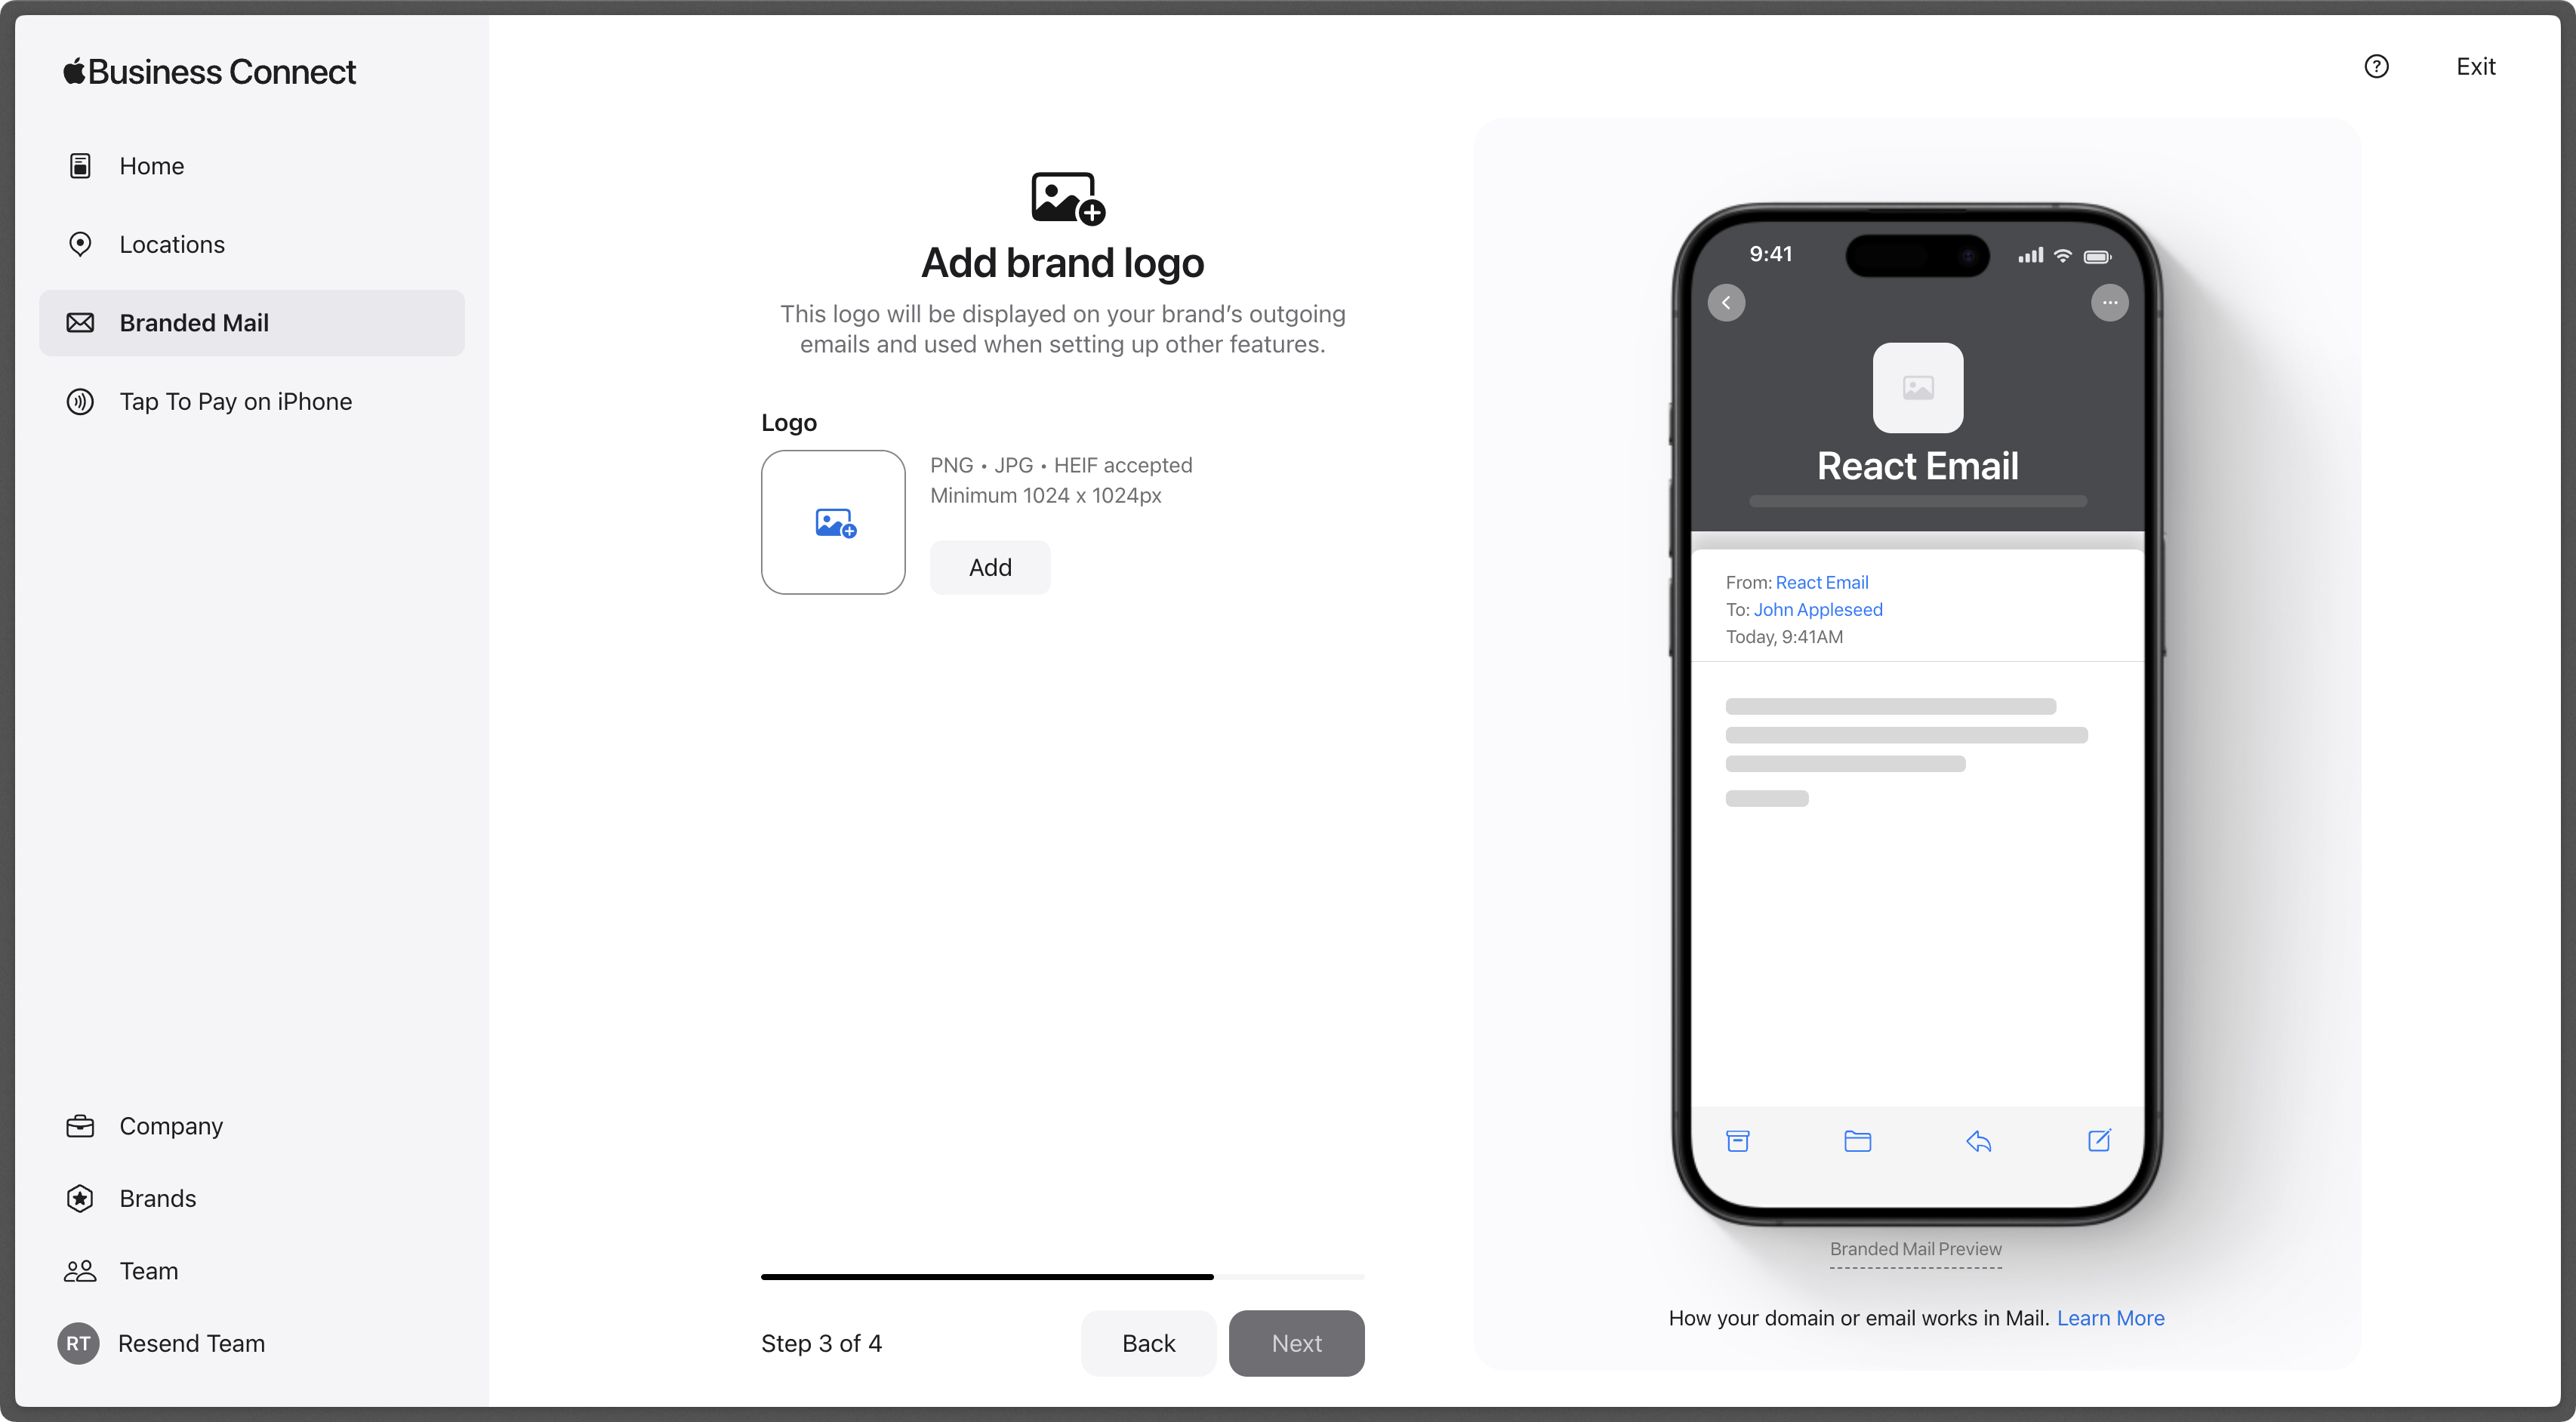
Add your domain
Confirm the domains or email addresses where you want your brand logo to appear.
You can register your logo for your root domain or a subdomain. If you don't set a specific logo for a subdomain, the root domain logo will automatically display for any email sent from your subdomains.
Verify your company
Apple requires details to confirm your company identity.
If you're in the United States, provide a Federal Taxpayer Identification Number. Other countries will use a local equivalent for this step. Apple also asks that you add a DNS record to verify DNS access.
Verify with Apple
After you submit all your information, Apple will verify your details. This process may take up to seven business days.
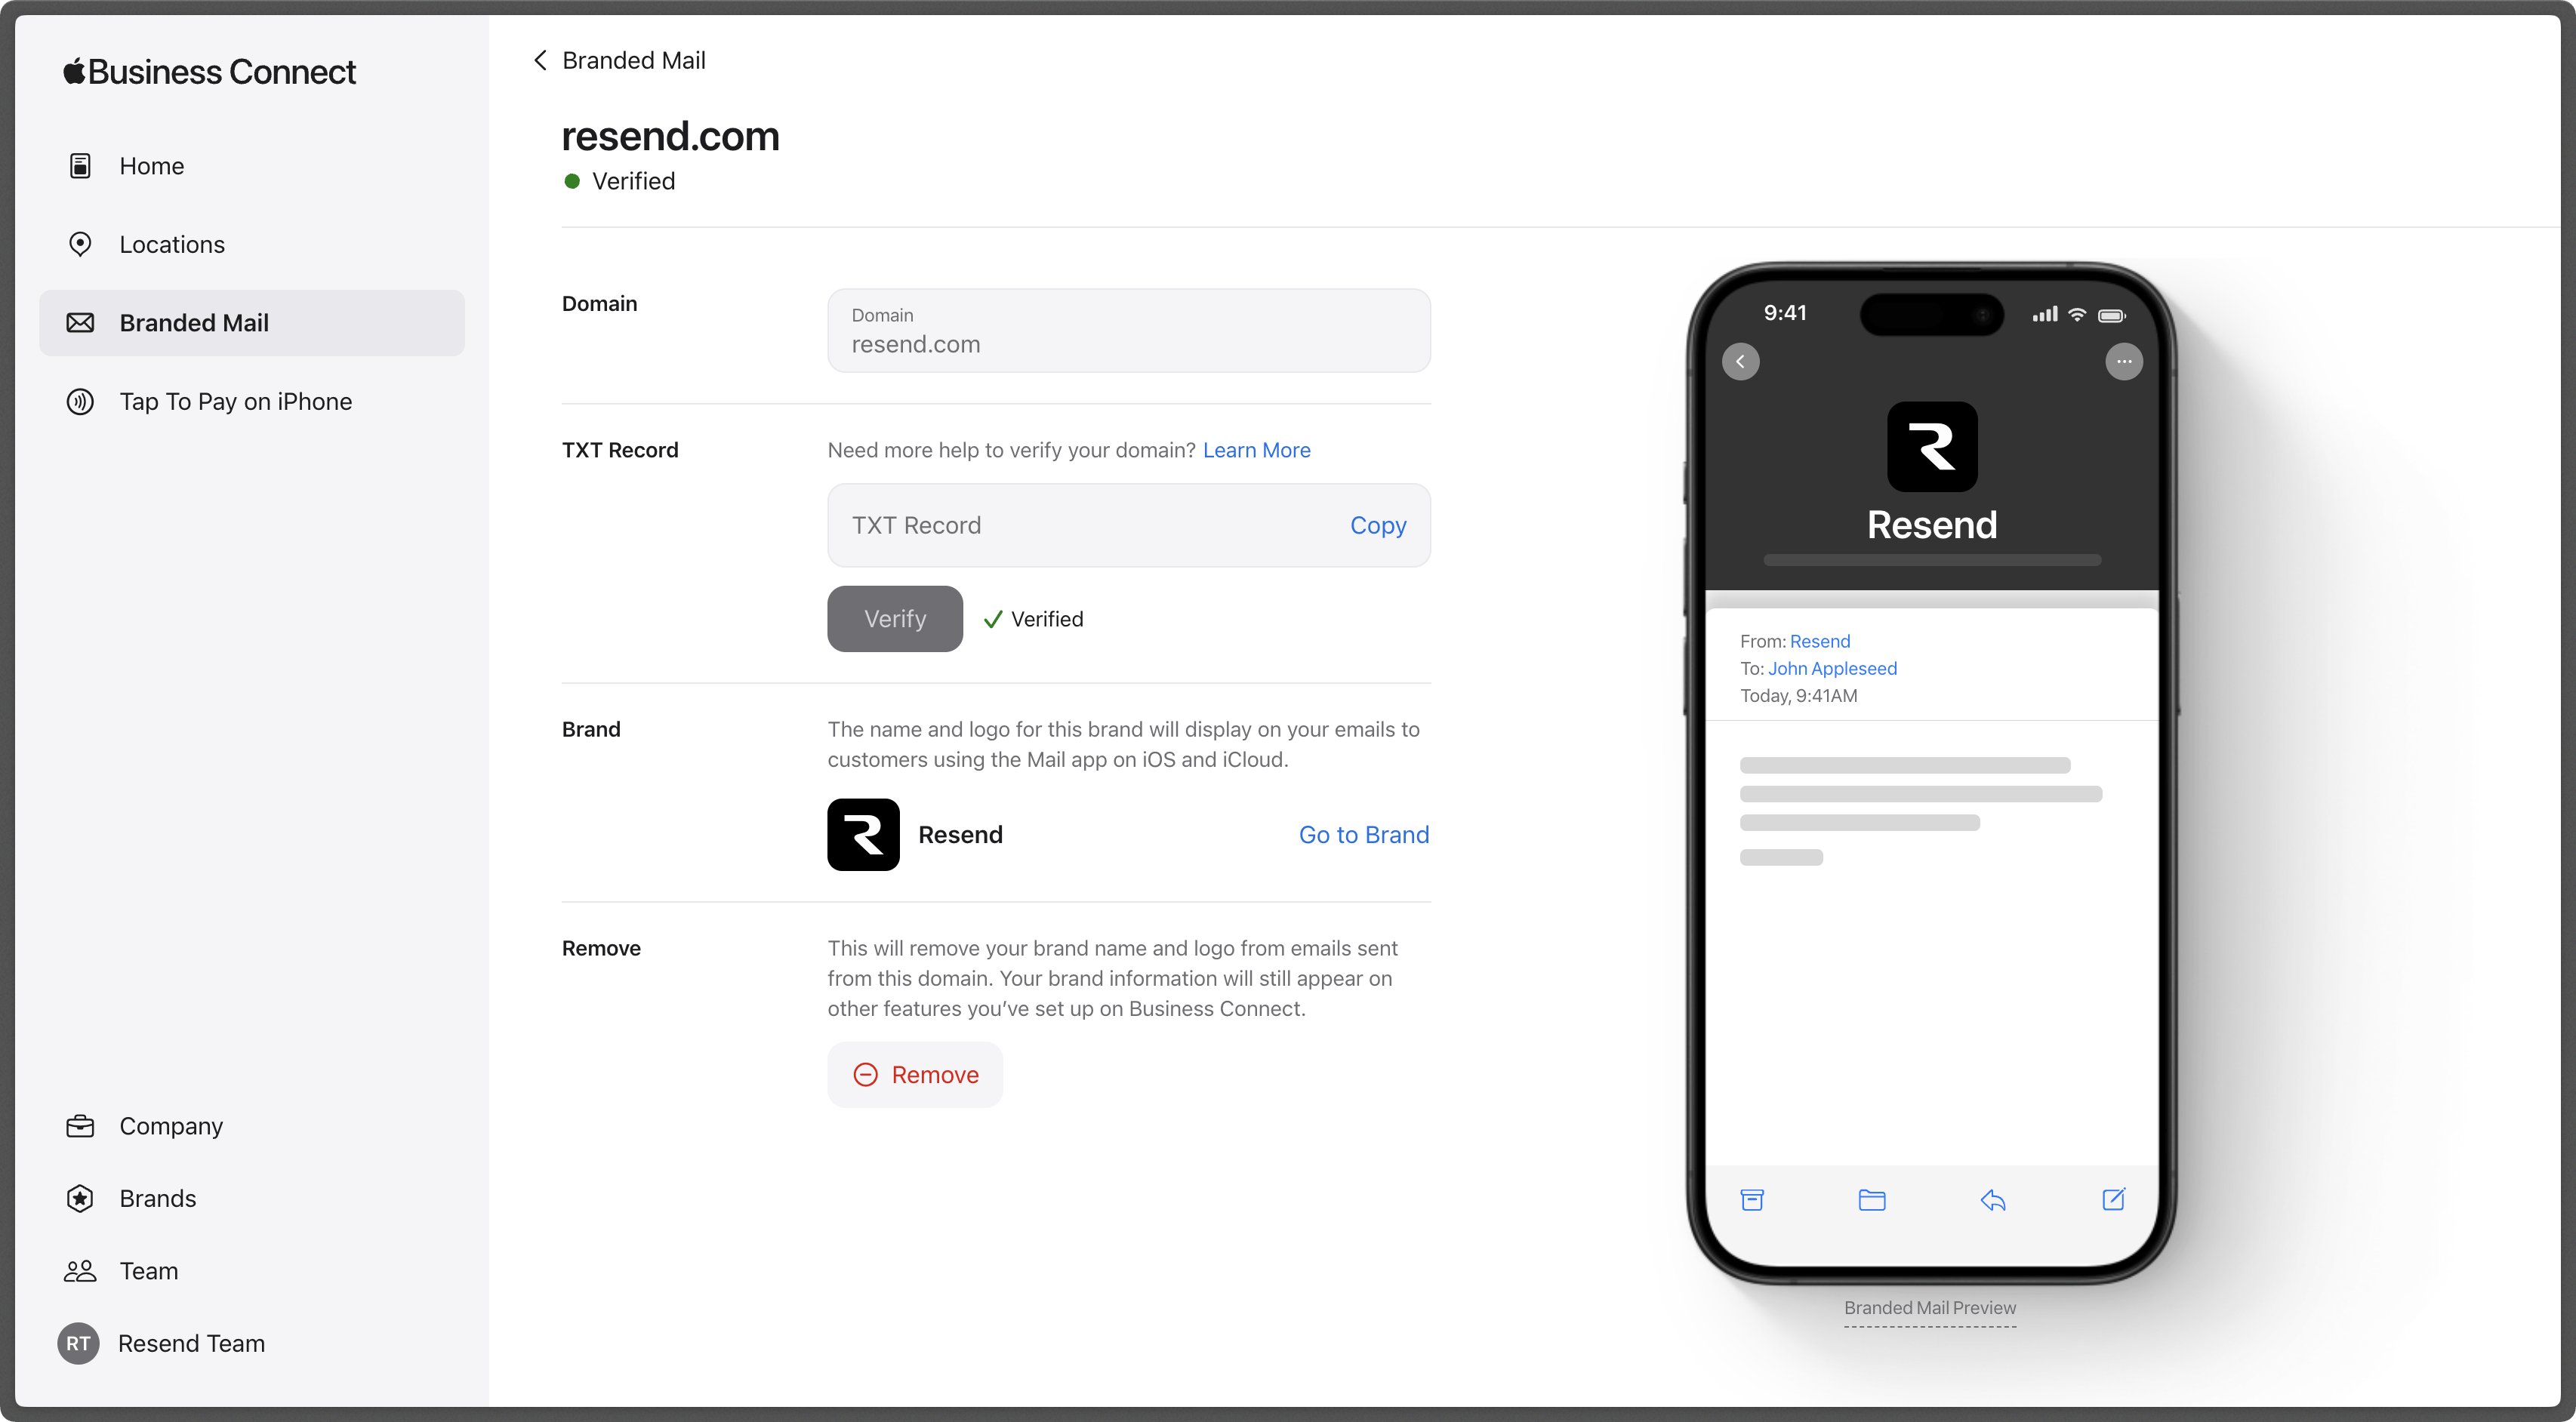
Once the logo is verified, Apple will send an email notification and note the verified status in Branded Mail. Your logo will start to display in compatible Apple Mail versions.