Template emails with React Email
With React Email, write email templates as React components, with full TypeScript and Tailwind support, and a local preview server. Preview your emails in real time with hot reloading, and render to email-friendly HTML or plain text when you're ready to send.
This guide walks through setting up a React Email project, writing a template, and uploading it to Resend Templates with the Resend CLI so the rest of your team can collaborate on it in the dashboard.
Set up a React Email project
Use
create-emailto scaffold a project with a starter template, a preview server, and the@react-email/componentspackage.npm npx create-email@latestyarn yarn create emailpnpm pnpm create emailbun bun create emailThis creates a new
react-email-starterfolder with anemails/directory and a few example templates. Install dependencies:npm cd react-email-starter npm installyarn cd react-email-starter yarnpnpm cd react-email-starter pnpm installbun cd react-email-starter bun installWrite your template
Create
emails/welcome.tsx. Each component can be imported fromreact-email(view all components). Optionally add props to the component to be used as variables when sending.emails/welcome.tsx import { Body, Button, Container, Head, Heading, Html, Preview, Section, pixelBasedPreset, Tailwind, Text, } from 'react-email'; import * as React from 'react'; interface WelcomeEmailProps { firstName?: string; productName?: string; } export default function WelcomeEmail({ firstName = 'there', productName = 'Acme', }: WelcomeEmailProps) { return ( <Html> <Head /> <Tailwind config={{ presets: [pixelBasedPreset] }}> <Preview>Welcome to {productName}</Preview> <Body className="bg-white font-sans"> <Container className="mx-auto py-12"> <Heading className="text-2xl font-semibold text-black"> Welcome, {firstName} </Heading> <Text className="text-base text-zinc-700"> Thanks for signing up for {productName}. Let's get you started. </Text> <Section className="mt-6"> <Button className="rounded-md bg-black px-5 py-3 text-sm font-medium text-white" href="https://example.com/get-started" > Get started </Button> </Section> </Container> </Body> </Tailwind> </Html> ); }Add email script
package.json { "scripts": { "email:dev": "email dev" } }The
email:devscript will start the preview server. If youremaildirectory is not in the root of your project, you can specify the path to it.package.json { "scripts": { "email:dev": "email dev --dir src/emails" } }Preview locally
Run the preview server to see your email render in real time as you edit. Hot reload picks up changes automatically.
npm npm run email:devyarn yarn email:devpnpm pnpm email:devbun bun email:devOpen localhost:3000 and select
welcome.tsxfrom the sidebar.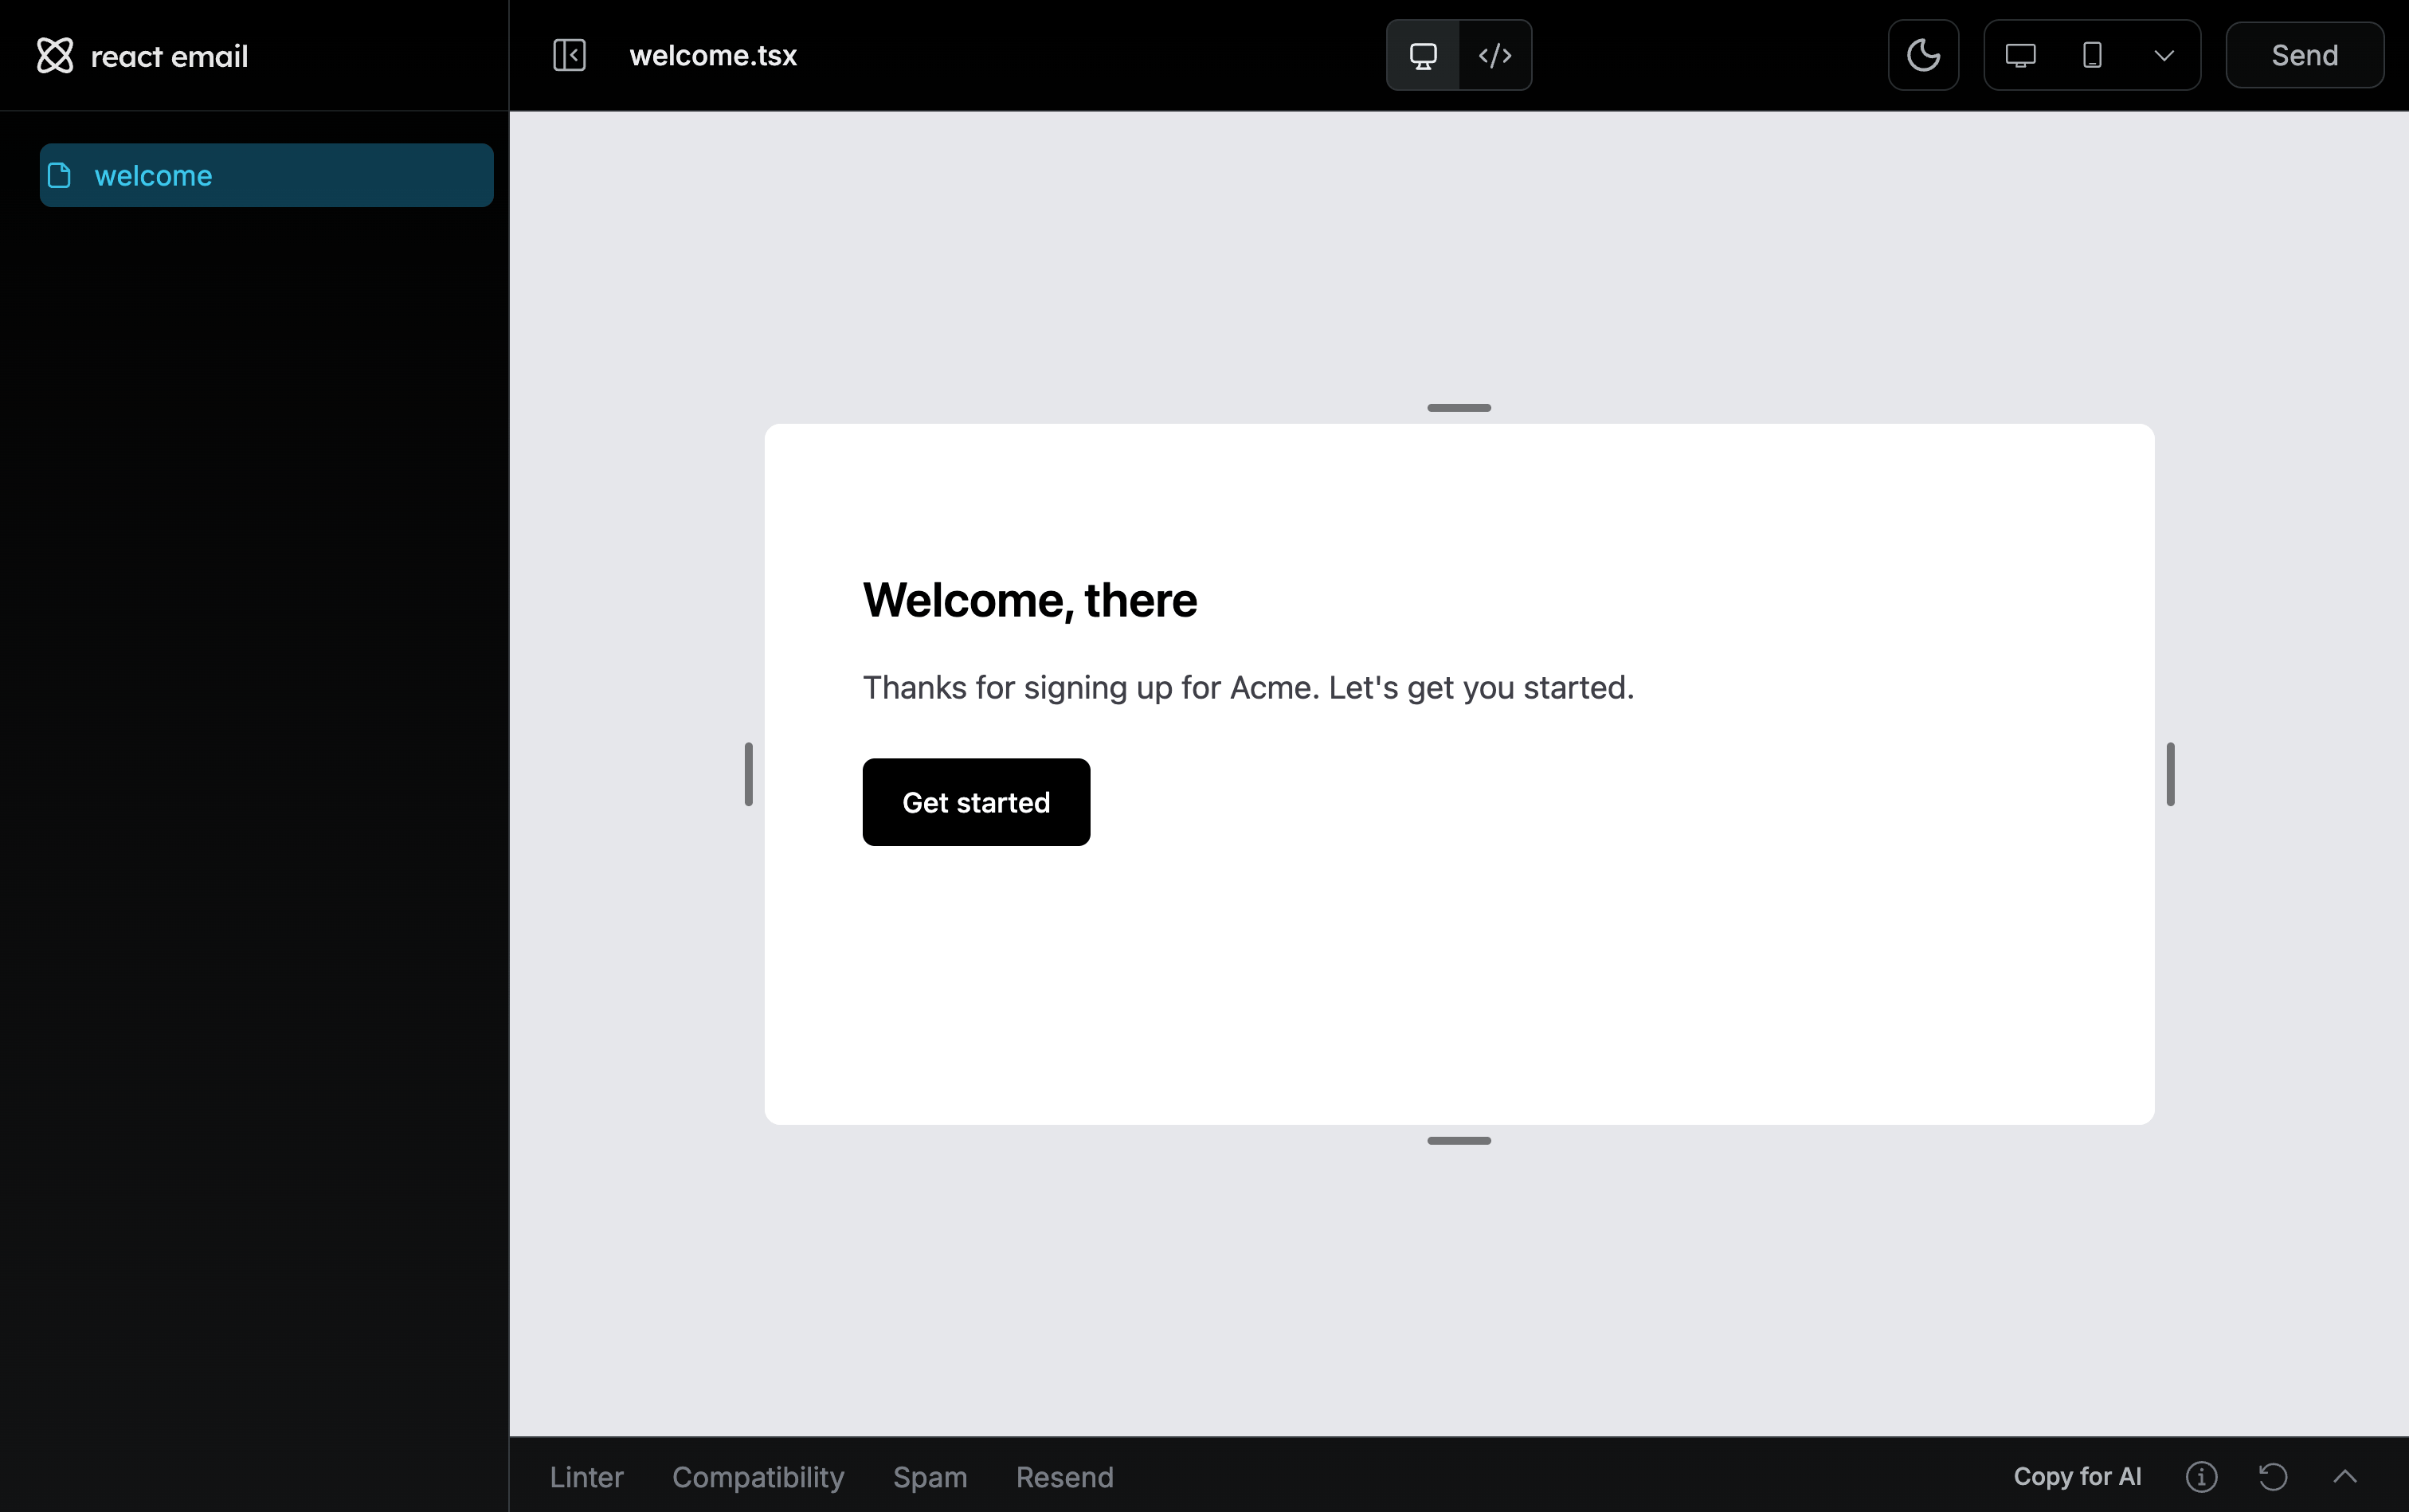
The preview shows the rendered email and offers desktop/mobile toggles, the source HTML, and plain-text output. Changes you make to
welcome.tsxshow in real-time and dedicated email tools show in the toolbars.Linter: lint your email content, links, and more.Compatibility: check your email's HTML/CSS with caniemail.Spam: see how spam checkers view your email.
Send your email template
You can pass your React Email template in the email call using the Resend Node SDK.
sendEmail.tsx import { Resend } from 'resend';import { Email } from './email';const resend = new Resend('re_123456789');await resend.emails.send({ from: 'you@example.com', to: 'delivered@resend.com', subject: 'hello world', react: <Email url="https://example.com" />,});Upload your template to Resend
Templates are stored on Resend and can be referenced when you send transactional emails. With Templates, define the structure and layout of a message and optionally include custom variables which will be replaced with the actual values when sending the email.
Set up the Resend integration using the React Email CLI: ```bash theme={"theme":{"light":"github-light","dark":"vesper"}} theme={"theme":{"light":"github-light","dark":"vesper"}} npx react-email@latest resend setup ``` This will prompt you to enter your Resend API Key. To get one, navigate to [API Keys](https://resend.com/api-keys) in your Resend dashboard, click **Create API key**, and ensure that the API Key is scoped to **Full Access**. Paste the API Key into the terminal and press enter. Run the React Email preview server and visit the **Resend** tab of the toolbar. Choose **Upload** or **Bulk Upload** to import your Template to Resend.If you want to remove the Resend integration, run `npx react-email@latest resend reset`.
React Email components
Browse every available component — Button, Container, Tailwind, and more.
Resend CLI reference
See every CLI command and flag, including templates, automations, and webhooks.
Templates introduction
Learn how Templates, variables, and version history work in Resend.
Embed the React Email editor
Add the open-source visual editor to your own app.