Send Auth0 transactional emails with Resend
Auth0 supports Resend as a built-in email provider. Authentication flows depend on reliable delivery for verification codes, password resets, and other crucial emails.
Prerequisites
Section titled “Prerequisites”Before you start, you'll need:
- A Resend API key
- A verified domain
Prefer a video walkthrough?
Set up the Resend provider in Auth0
Section titled “Set up the Resend provider in Auth0”In the Auth0 Dashboard, go to Branding > Email Provider, toggle on Use my own email provider, and select Resend.
Enter your API key and set the From address to match your verified domain. Click Save to apply the changes.
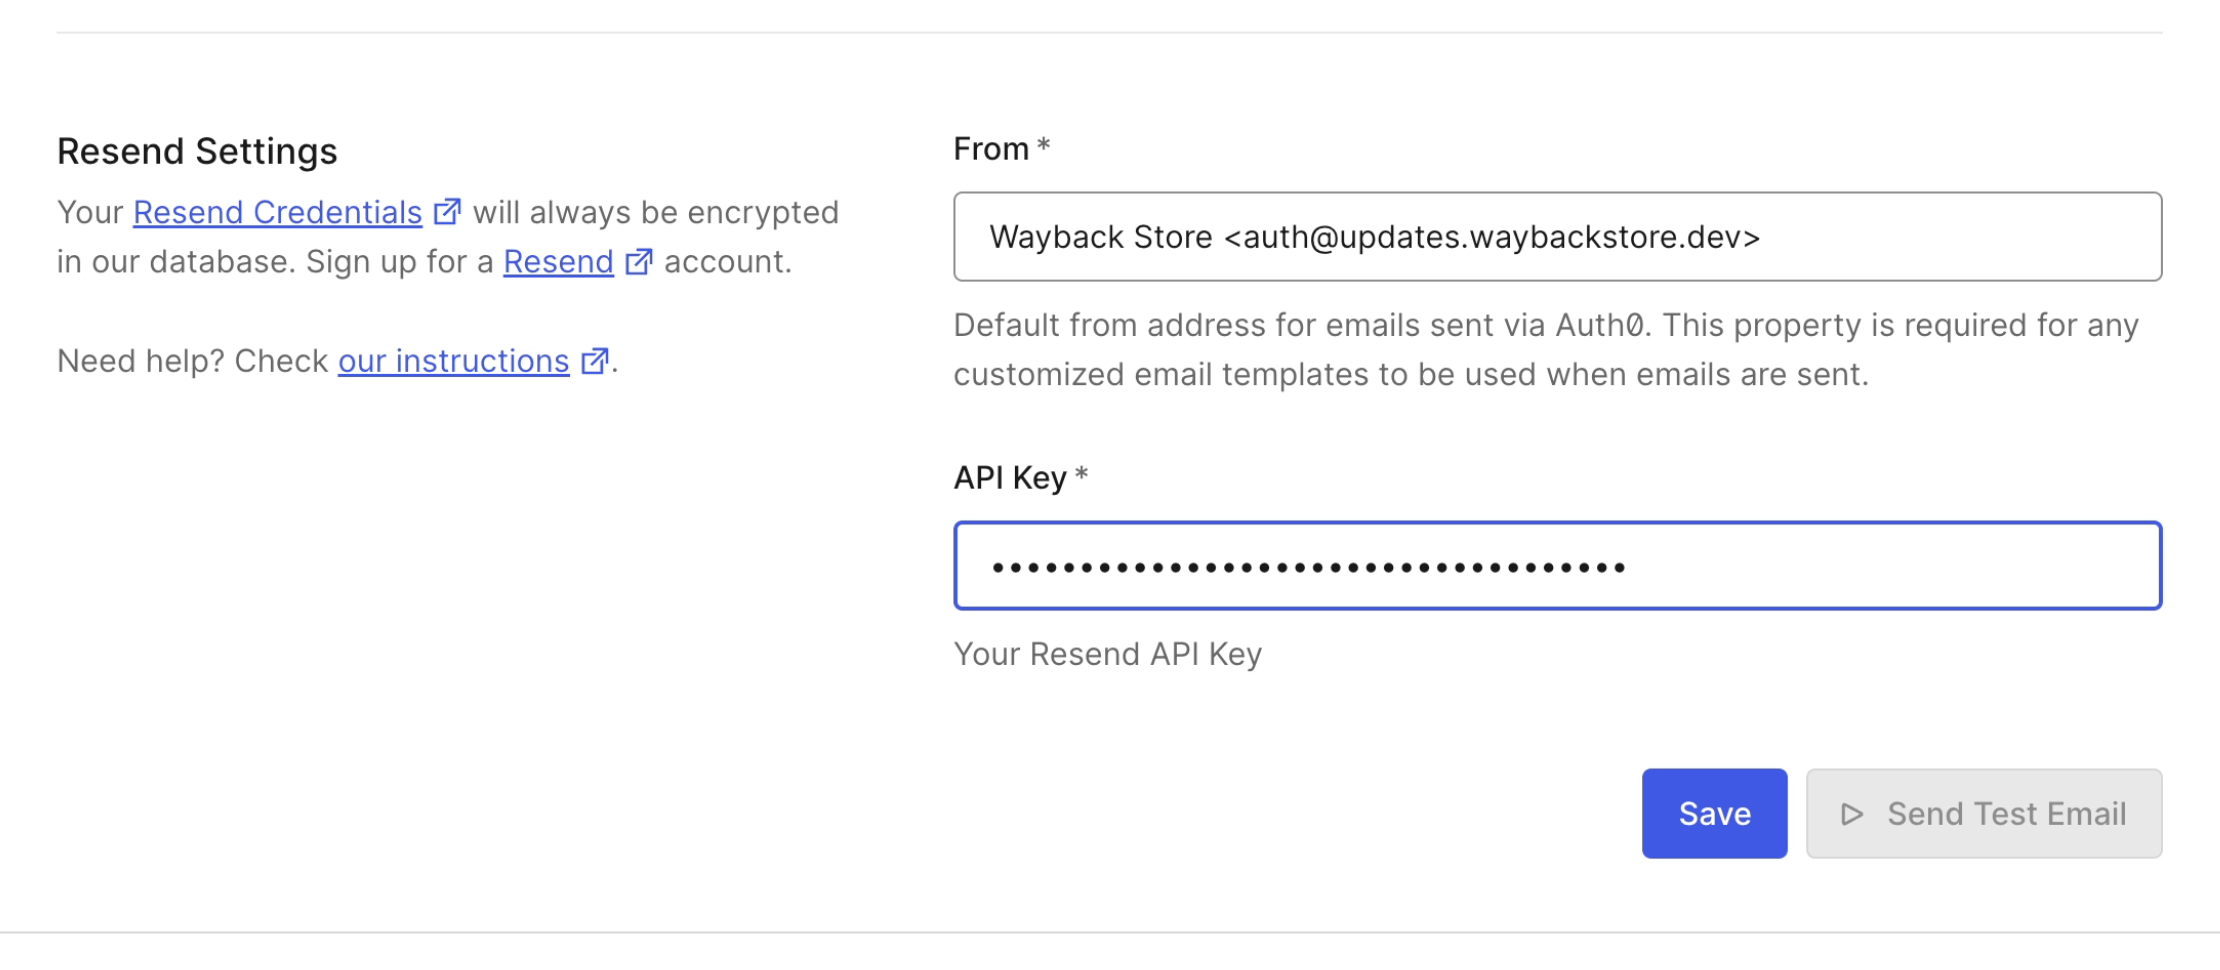
To test that it's working, click Send Test Email. The email will appear in your Resend dashboard and email inbox.
Send emails with Auth0 Actions (optional)
Section titled “Send emails with Auth0 Actions (optional)”For more control over delivery, like per-organization sender addresses, conditional routing, or custom logic, you can use an Auth0 Action instead.
In the Auth0 Dashboard, go to Actions > Library, create a new Custom action.
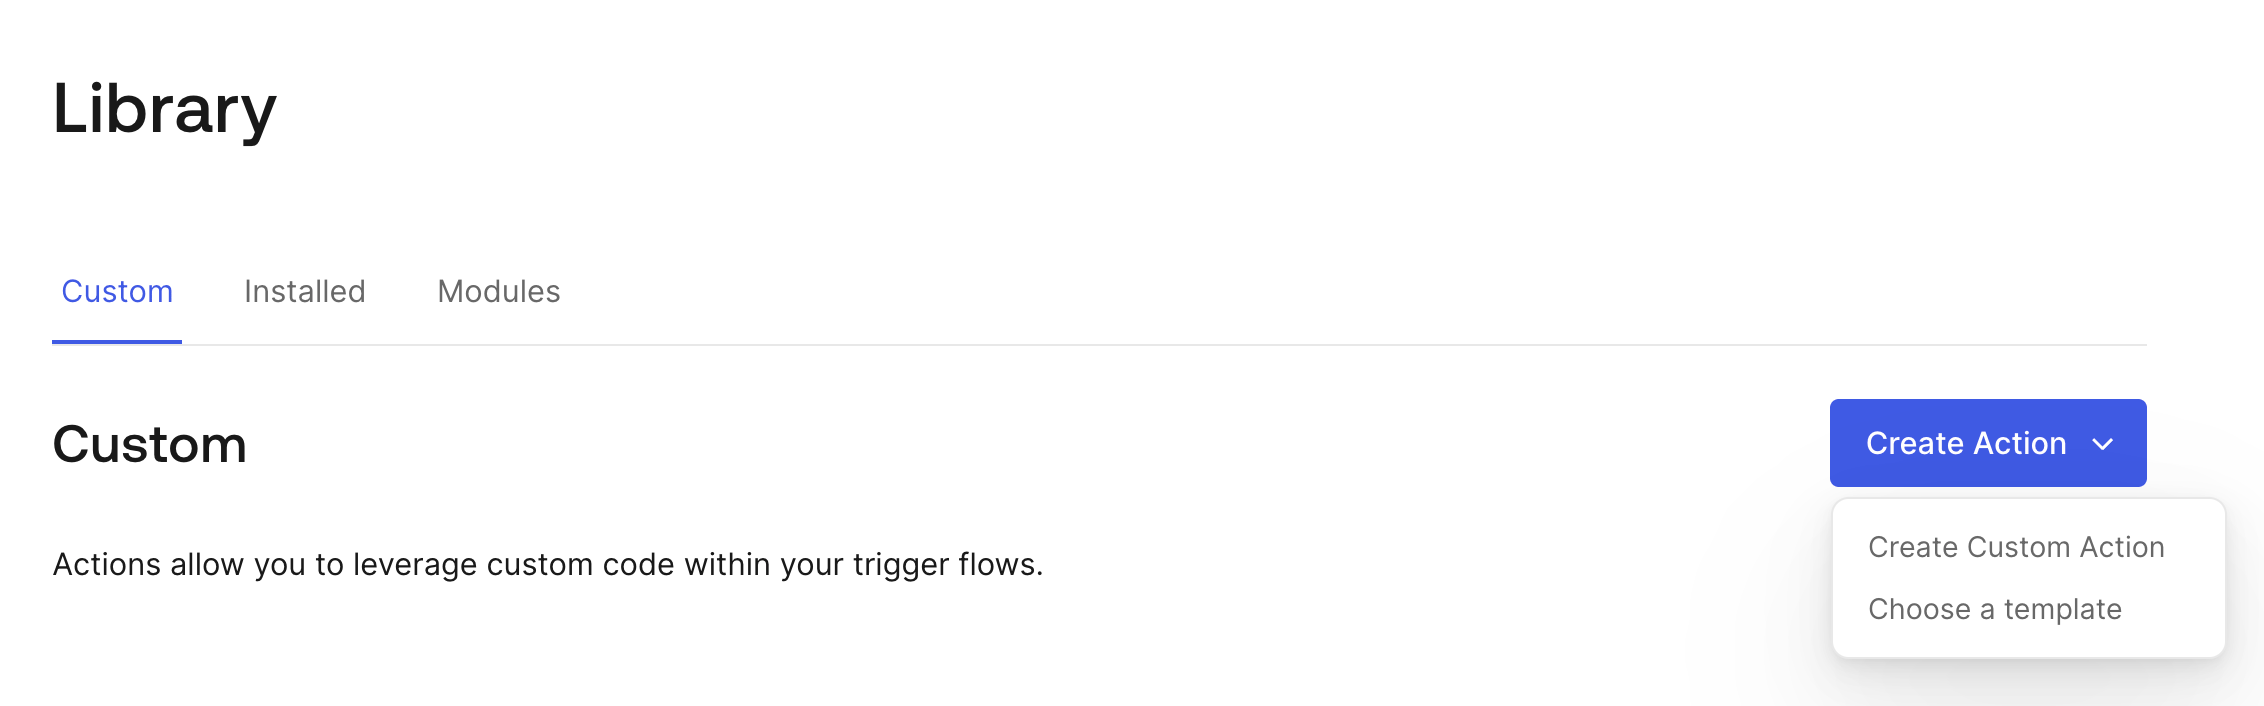
To enable Resend in the Action:
- Add
resendas a dependency.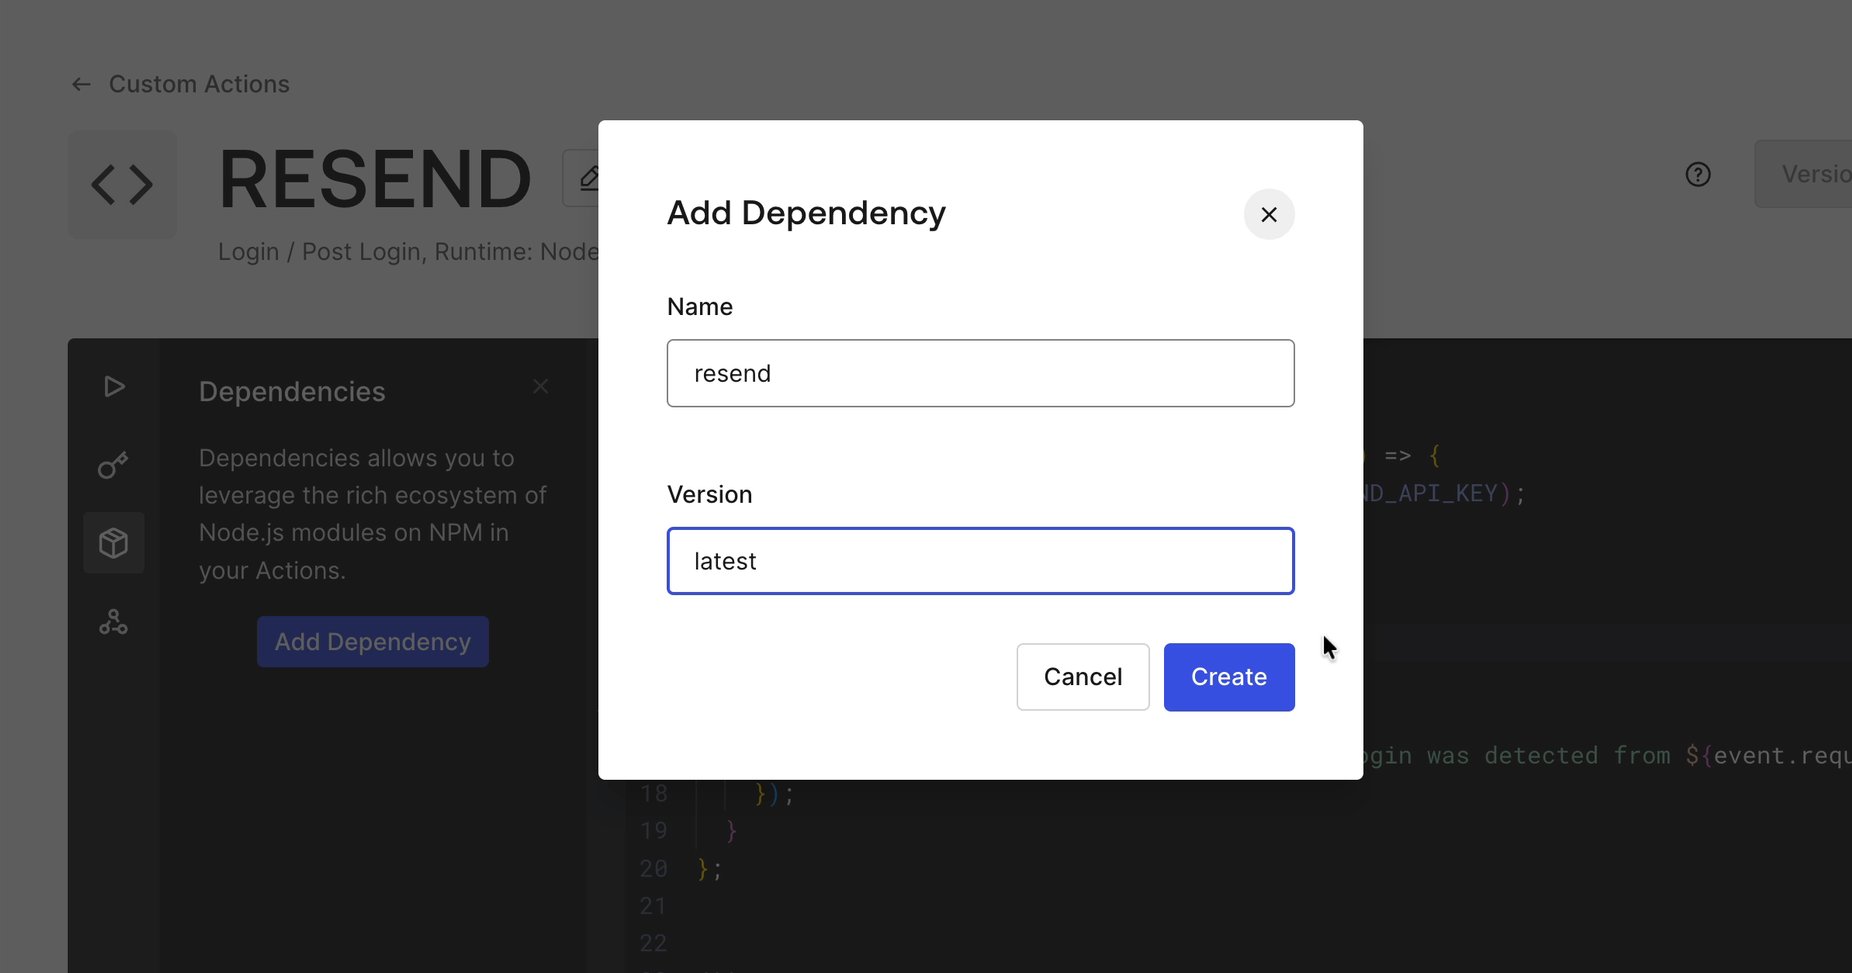
- Store your API key as a secret named
RESEND_API_KEY.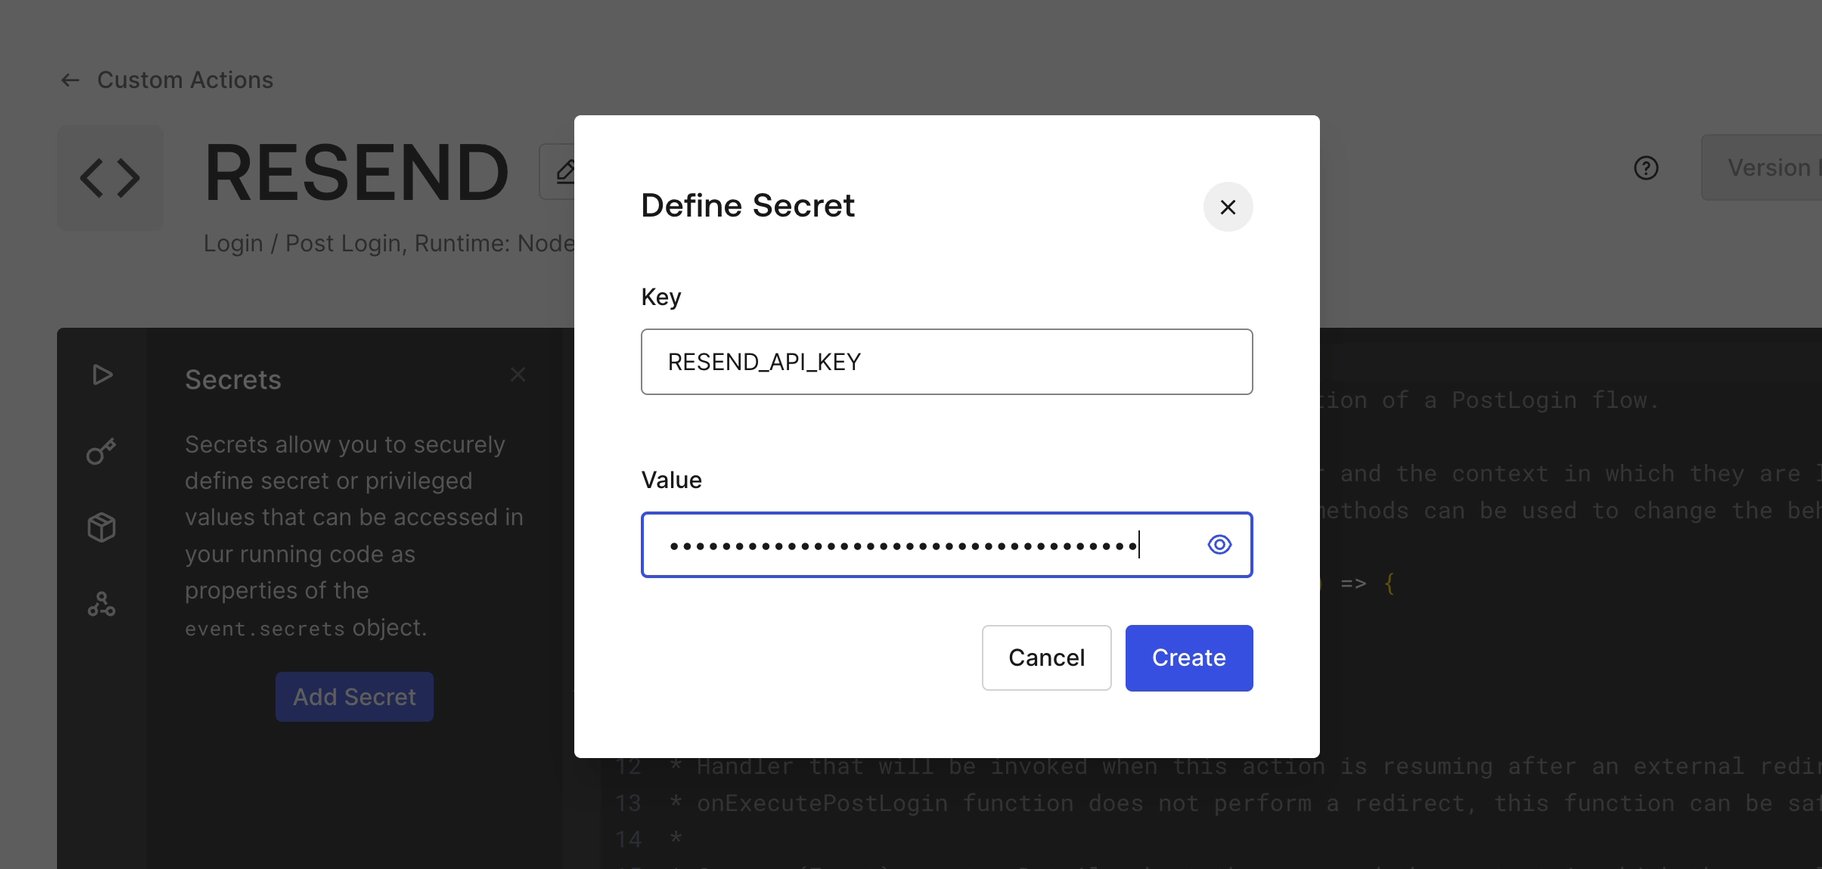
Here's a working example that sends a security alert on first login:
const { Resend } = require('resend');

exports.onExecutePostLogin = async (event, api) => {
  const resend = new Resend(event.secrets.RESEND_API_KEY);

  if (event.stats.logins_count === 1) {
    await resend.emails.send({
      from: 'Security <security@example.com>',
      to: event.user.email,
      subject: 'New login detected',
      html: `<p>Hi ${event.user.name}, a new login was detected from ${event.request.ip}.</p>`,
    });
  }
};
Deploy it by adding the action to the Post Login trigger under Actions > Triggers.
Customize Email Templates
Section titled “Customize Email Templates”To customize the email templates that Auth0 sends out, go to Branding > Email Templates in the Auth0 Dashboard and make your changes to the existing templates.
For more advanced templating, consider either React Email or Resend Templates.
React Email
Section titled “React Email”Auth0 email templates use Liquid syntax for dynamic variables like {{ user.email }} and {{ url }}. You can author templates with React Email and inject Liquid variables before pasting the rendered HTML into Auth0.
Define your Liquid variables as constants to avoid HTML encoding issues during rendering:
export const VARIABLES = {
  url: '{{ url }}',
  user: { email: '{{ user.email }}' },
  application: { name: '{{ application.name }}' },
};
Use them in your React Email components, render to static HTML, and paste the output into Branding > Email Templates in Auth0.
Resend Templates
Section titled “Resend Templates”To use Resend templates with Auth0, define your templates in the Resend Dashboard and reference them in your Custom OAuth Actions.
For instance, the following code uses a Resend template with the id of login-detected that contains two variables (first_name and ip_address) to be passed in the call. Learn more about Resend templates.
const { Resend } = require('resend');

exports.onExecutePostLogin = async (event, api) => {
  const resend = new Resend(event.secrets.RESEND_API_KEY);

  if (event.stats.logins_count === 1) {
    await resend.emails.send({
      from: 'Security <security@example.com>',
      to: event.user.email,
      template: {
        id: 'login-detected',
        variables: {
          first_name: event.user.name,
          ip_address: event.request.ip,
        },
      },
    });
  }
};
Debugging Email Delivery
Section titled “Debugging Email Delivery”When something goes wrong, it's helpful to see detailed logs across both sides:
- Auth0 Logs (Monitoring > Logs) shows send events and any errors raised from the Resend integration.
- Resend Logs show the delivery side: accepted, delivered, opened, bounced.
Together, you get end-to-end visibility across the entire delivery chain.